Dry and cracked hands can be a real nuisance, especially during the cold winter months. Commercial hand creams can be expensive and often contain harsh chemicals that may not be suitable for everyone. Fortunately, making homemade hand cream is a simple and affordable way to soothe dry and cracked skin.
One of the benefits of making homemade hand cream is that you can customize the ingredients to suit your specific needs. For example, if you have sensitive skin, you can use gentle and natural ingredients that won’t irritate your skin. Plus, you can add your favorite essential oils to create a personalized scent.
In this article, we will provide step-by-step instructions on how to make homemade hand cream for cracked skin. We will also discuss the benefits of using natural ingredients and provide tips on how to store and use your homemade hand cream. With a little bit of effort and some simple ingredients, you can have soft and smooth hands all year round.
Understanding Skin Hydration
Role of Hand Cream
Hand cream is an essential product for maintaining healthy skin. It is designed to provide hydration to the skin, which is crucial for keeping it soft and supple. The skin on the hands is thinner than other parts of the body, making it more susceptible to dryness and cracking. Hand cream helps to prevent this by providing a protective barrier that locks in moisture.
Hand cream contains ingredients that help to hydrate the skin, such as glycerin, shea butter, and coconut oil. These ingredients work by attracting moisture to the skin and preventing it from evaporating. Hand cream also contains emollients, which are oils that help to soften and smooth the skin. By using hand cream regularly, the skin on the hands will become more resilient and less likely to crack.
Causes of Cracked Skin
Cracked skin is a common problem that affects many people, especially during the winter months. It can be caused by a variety of factors, including dry air, cold weather, and frequent hand washing. When the skin is exposed to these conditions, it loses moisture, which can lead to cracking and peeling.
In addition to external factors, cracked skin can also be caused by internal factors such as dehydration and nutrient deficiencies. When the body is dehydrated, it can affect the skin’s ability to retain moisture, leading to dryness and cracking. Nutrient deficiencies, such as a lack of vitamin E or omega-3 fatty acids, can also contribute to dry, cracked skin.
To prevent cracked skin, it is important to keep the skin hydrated by using hand cream regularly. It is also important to drink plenty of water and eat a healthy diet rich in vitamins and minerals. By taking care of the skin from the inside out, it will be better equipped to handle external factors that can cause dryness and cracking.
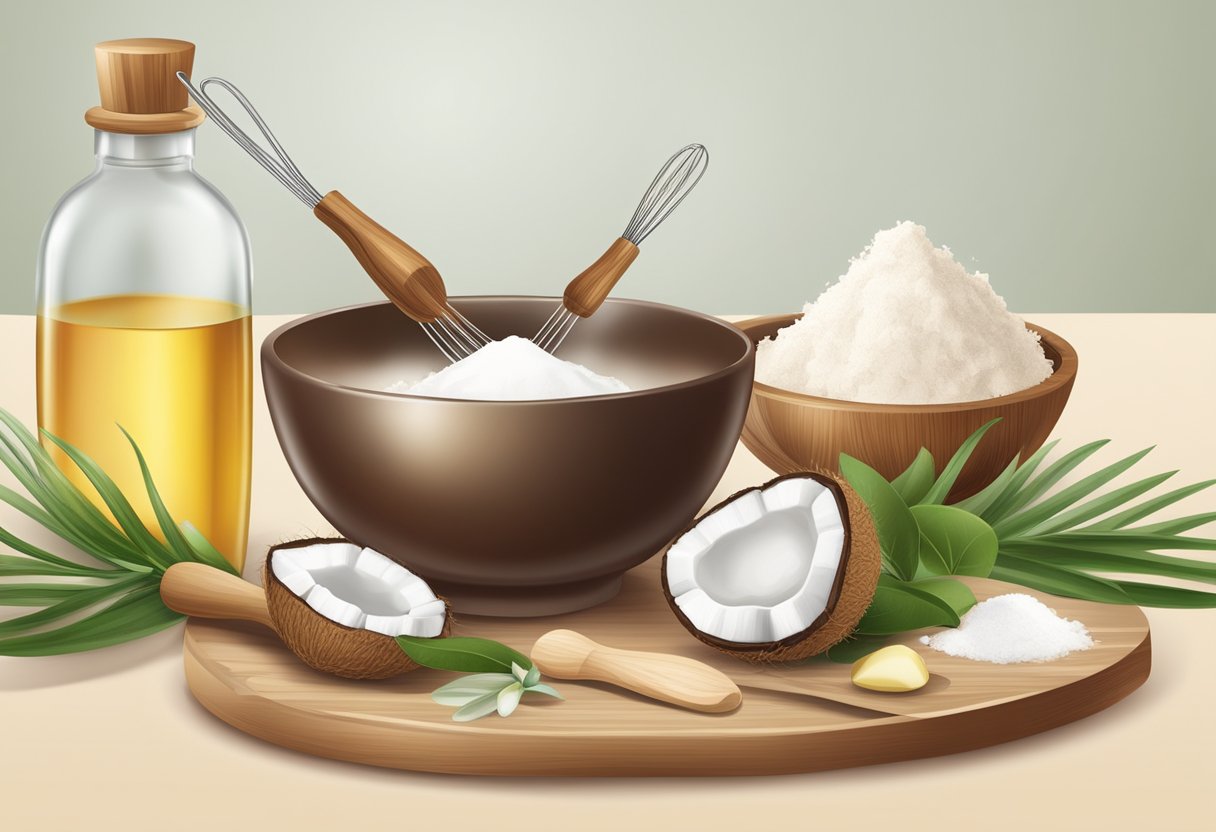
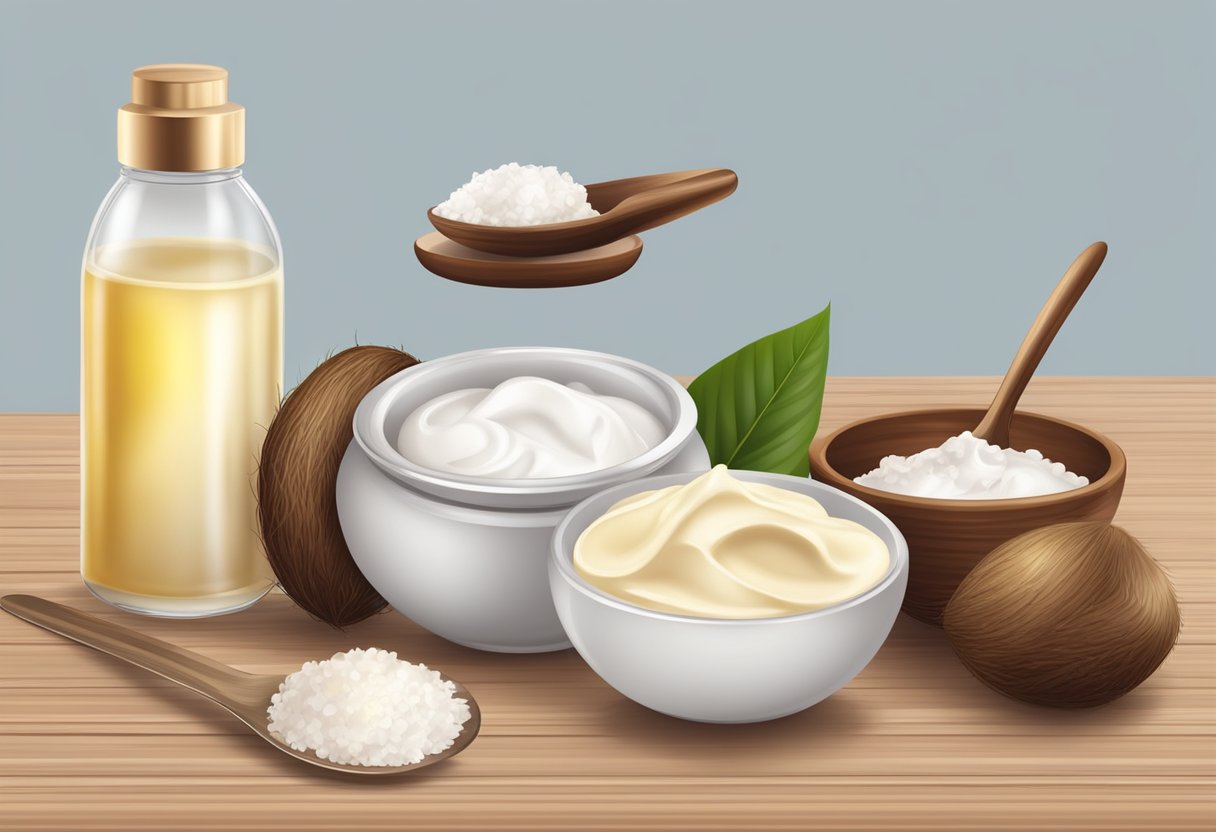
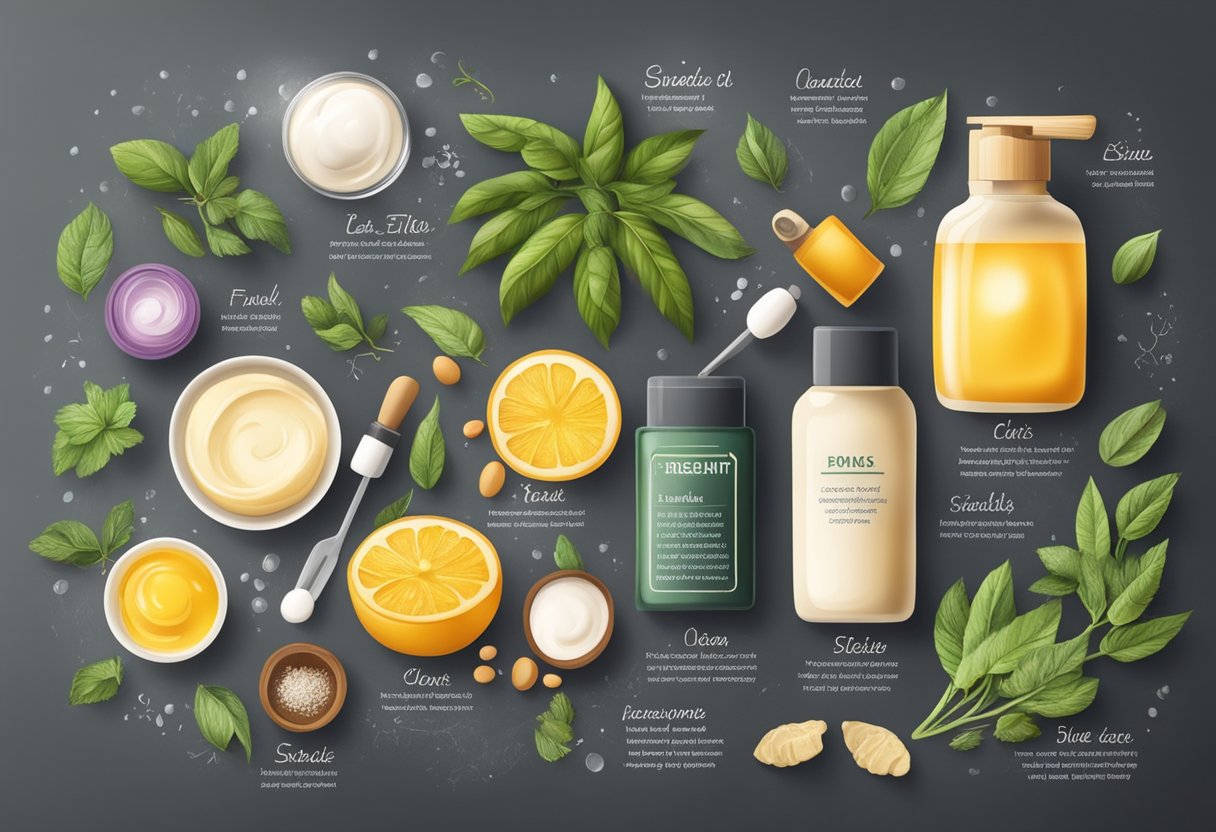
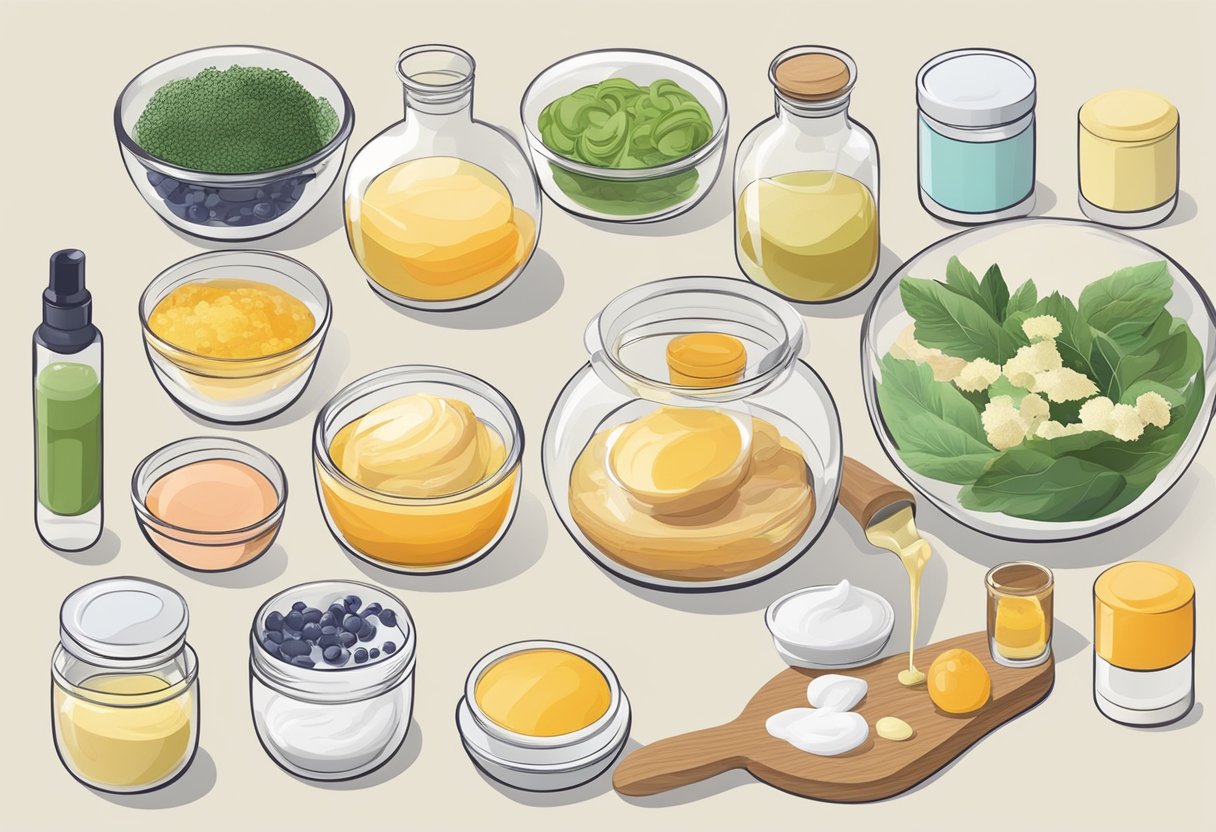
Ingredients for Hand Cream
When it comes to making homemade hand cream for cracked skin, there are a variety of ingredients that can be used. The following subsections will highlight some of the most commonly used ingredients and their benefits.
Natural Oils
Natural oils are a great addition to any hand cream recipe. They provide hydration and nourishment to the skin, helping to prevent and heal cracks. Some popular natural oils used in hand cream recipes include:
- Sweet Almond Oil: A light oil that is easily absorbed by the skin, sweet almond oil is rich in vitamins A, B, and E, as well as oleic and linoleic acids.
- Coconut Oil: A versatile oil that is solid at room temperature, coconut oil is high in lauric acid and has antimicrobial properties.
- Olive Oil: A heavy oil that is best used in small amounts, olive oil is high in antioxidants and has anti-inflammatory properties.
Butters
Butters are another great addition to hand cream recipes. They provide a thick, creamy texture and are rich in fatty acids that help to nourish and protect the skin. Some popular butters used in hand cream recipes include:
- Shea Butter: A rich, creamy butter that is high in vitamins A and E, as well as fatty acids. Shea butter is known for its moisturizing and anti-inflammatory properties.
- Cocoa Butter: A hard butter that is high in antioxidants and fatty acids, cocoa butter is known for its ability to hydrate and protect the skin.
- Mango Butter: A soft butter that is high in vitamins A and C, as well as fatty acids. Mango butter is known for its ability to soothe and moisturize the skin.
Essential Oils
Essential oils not only add a pleasant scent to hand cream, but they also provide additional benefits to the skin. Some popular essential oils used in hand cream recipes include:
- Lavender Oil: A calming oil that is known for its ability to soothe and heal the skin. Lavender oil is also antibacterial and antifungal.
- Tea Tree Oil: An oil that is known for its antimicrobial and antiseptic properties. Tea tree oil is often used to treat cuts, burns, and other skin irritations.
- Peppermint Oil: An oil that is known for its cooling and refreshing properties. Peppermint oil can help to soothe itchy, irritated skin.
Healing Agents
In addition to natural oils, butters, and essential oils, there are other ingredients that can be added to hand cream to help heal and protect the skin. Some popular healing agents used in hand cream recipes include:
- Aloe Vera: A soothing and hydrating ingredient that can help to reduce inflammation and promote healing.
- Beeswax: A natural emulsifier that helps to thicken and stabilize hand cream. Beeswax also has antibacterial and anti-inflammatory properties.
- Vitamin E Oil: An antioxidant that helps to protect the skin from damage and promote healing. Vitamin E oil is also moisturizing and can help to reduce the appearance of fine lines and wrinkles.
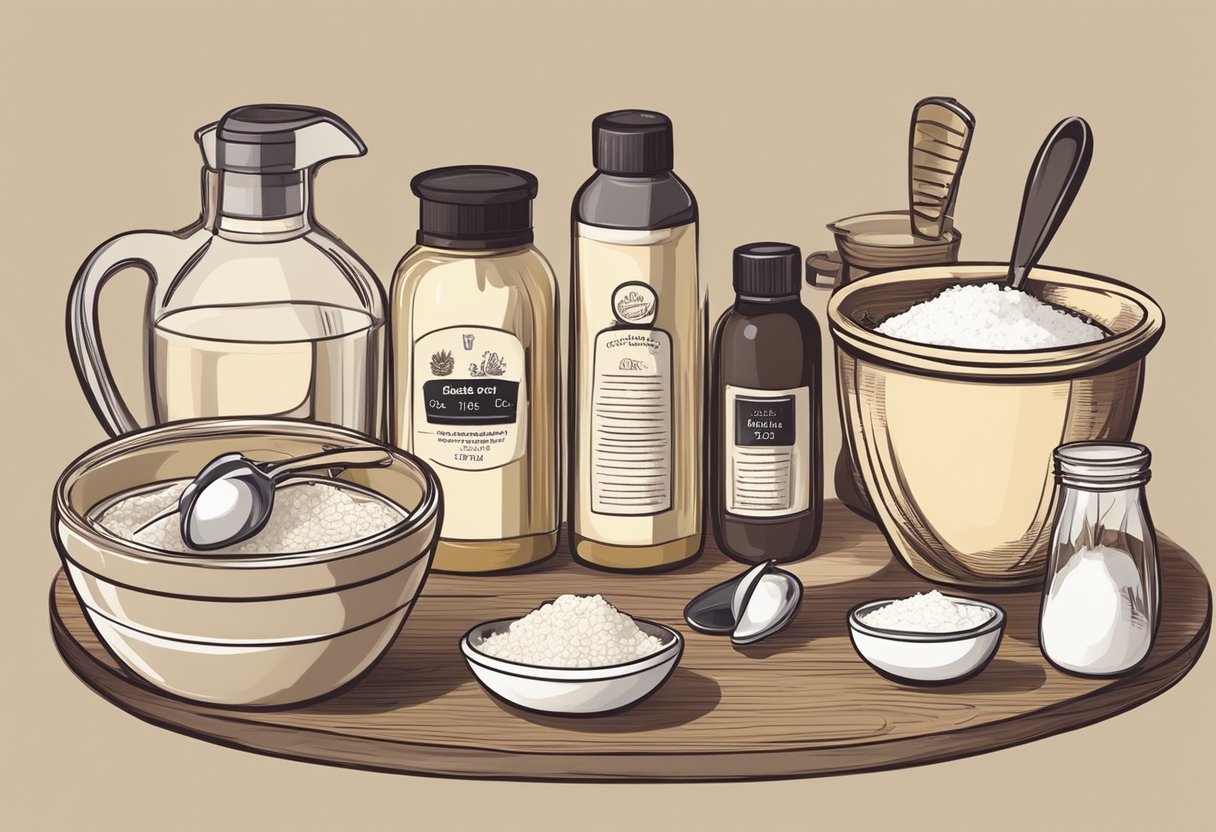
Equipment and Tools Needed
Making homemade hand cream for cracked skin requires a few basic tools and equipment that are easy to find. Here are some of the essential items you will need:
Glass bowl
A microwave-safe glass bowl is necessary for melting and mixing the ingredients. It should be large enough to hold all the ingredients and allow room for stirring.
Measuring spoons and cups
To ensure accurate measurements, you will need a set of measuring spoons and cups. Use them to measure the ingredients precisely.
Whisk or electric mixer
A whisk or electric mixer is needed to blend the ingredients thoroughly. A whisk is suitable for small batches, while an electric mixer is ideal for larger batches.
Double boiler or saucepan
A double boiler or a saucepan can be used to melt the ingredients if you don’t have a microwave. A double boiler is a pot with a bowl that fits over the top and allows the ingredients to melt without scorching. A saucepan can be used with a heatproof bowl placed over it.
Sterilized jars or containers
Once the hand cream is made, it needs to be stored in airtight, sterilized jars or containers. This ensures that the cream remains fresh and free from bacteria. You can sterilize the jars by boiling them in water for 10 minutes or washing them in hot soapy water and then rinsing them in hot water.
With these basic tools and equipment, you can make homemade hand cream for cracked skin that is effective and affordable.
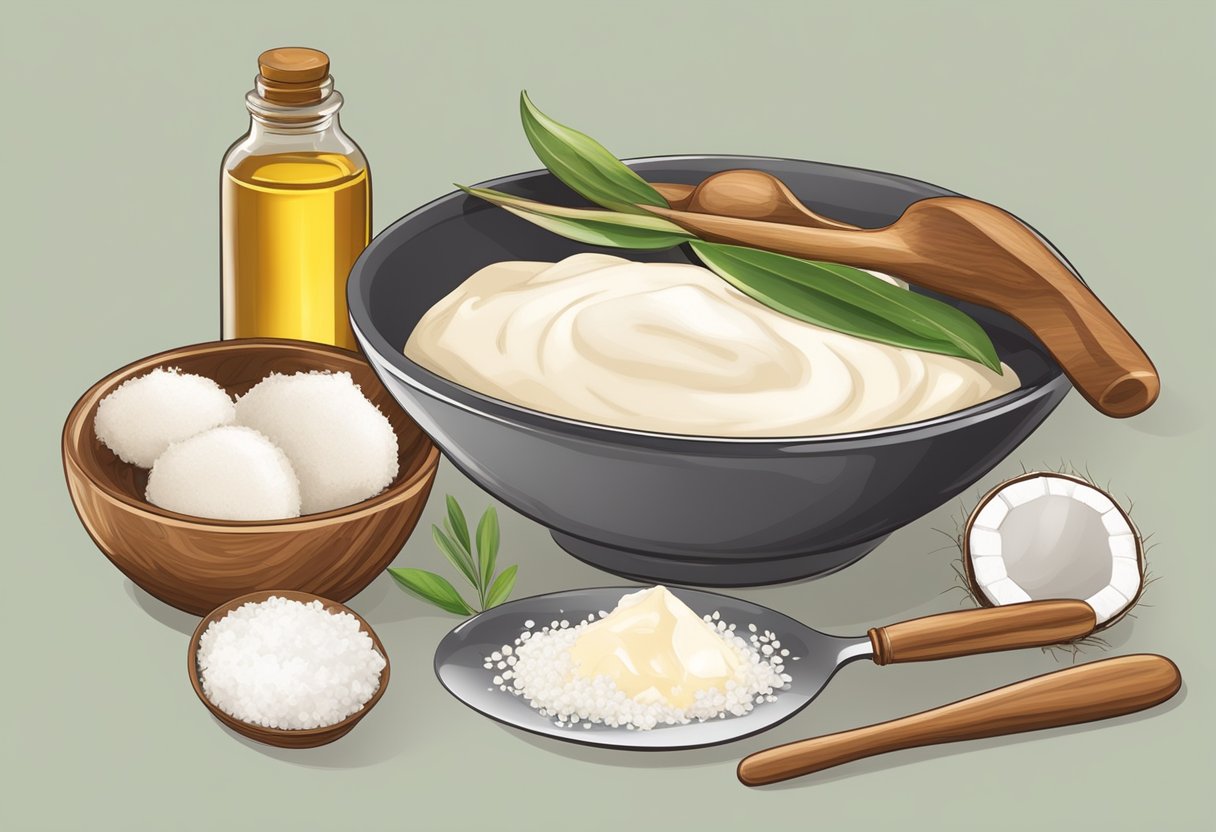
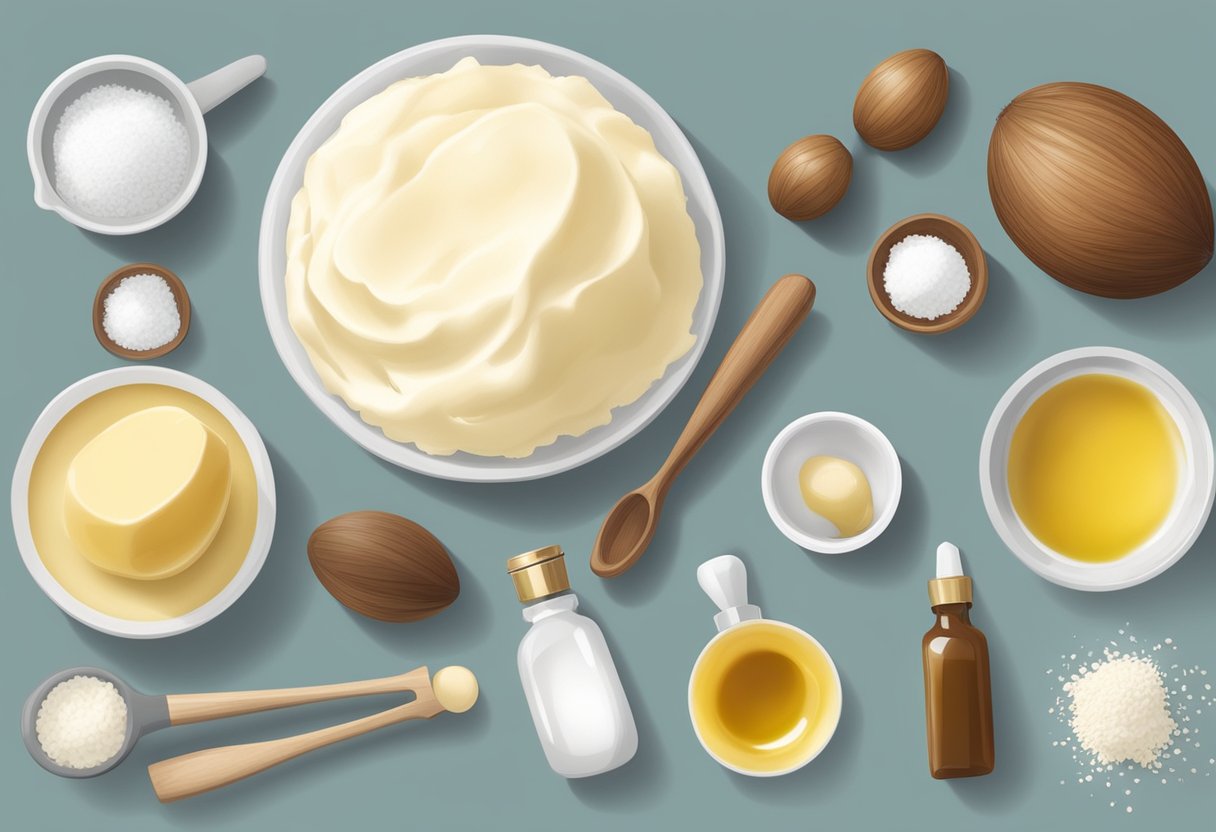
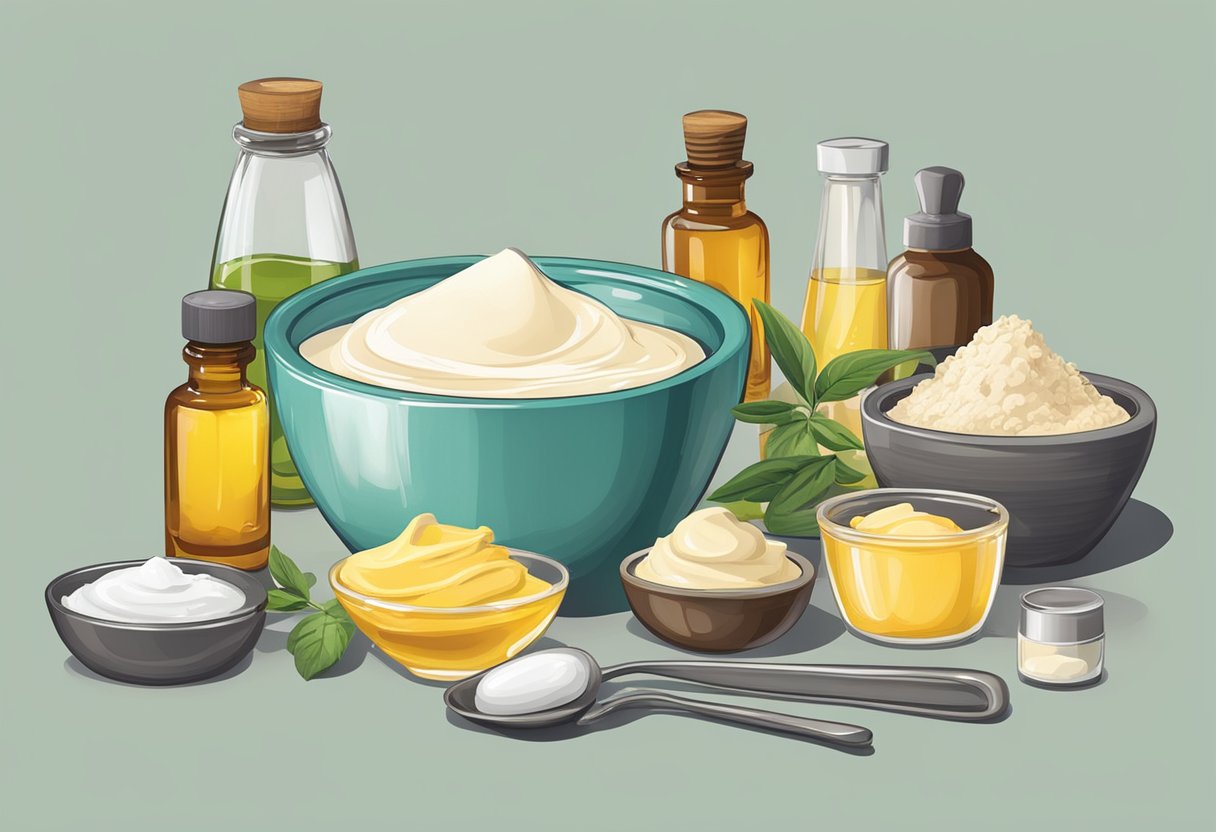
Step-by-Step Guide to Making Hand Cream
Making homemade hand cream for cracked skin is a straightforward process that requires a few simple ingredients and some basic kitchen tools. This section provides a step-by-step guide on how to make homemade hand cream that will leave your hands feeling soft and moisturized.
Preparing the Ingredients
To make homemade hand cream, you will need the following ingredients:
Ingredients:
- Beeswax: 2 tablespoons
- Shea Butter: 1/4 cup
- Cocoa Butter: 1/4 cup
- Almond Oil: 1/2 cup
- Essential Oil: 10-15 drops (depending on your preference for scent strength)
Instructions:
You will also need a few basic kitchen tools, including a double boiler, a glass bowl, a whisk, and a container to store the hand cream in.
Before you begin, make sure that you have all of the ingredients and tools you need and that your work area is clean and free of any contaminants. This will help ensure that your hand cream is safe to use and free from any harmful bacteria.
Mixing Process
Once you have all of your ingredients and tools ready, you can begin making your homemade hand cream. Here are the steps you need to follow:
-
In a double boiler, melt the beeswax, shea butter, and cocoa butter over low heat. Stir occasionally until everything is melted and well combined.
-
In a separate glass bowl, combine the almond oil and essential oil. Mix well.
-
Slowly pour the melted wax and butter mixture into the bowl with the oils, whisking continuously to ensure that everything is well combined.
-
Continue whisking until the mixture is smooth and creamy.
Cooling and Setting
After you have mixed all of the ingredients together, it’s time to let the hand cream cool and set. Here’s what you need to do:
-
Pour the mixture into a clean, dry container with a lid.
-
Let the hand cream cool to room temperature. This should take about 30 minutes.
-
Once the hand cream has cooled, put the lid on the container and store it in a cool, dry place.
Making homemade hand cream is a simple and rewarding process that can help soothe and moisturize dry, cracked skin. By following these easy steps, you can make your own hand cream that is safe, effective, and free from any harmful chemicals or additives.
Application Techniques for Best Results
When it comes to applying homemade hand cream for cracked skin, the technique you use can make a big difference in how effective the cream is. Here are some tips to help you get the best results:
-
Start with clean hands: Before applying the cream, wash your hands with warm water and soap. This will help remove any dirt, oil, or other substances that could interfere with the cream’s ability to moisturize your skin.
-
Use a small amount: A little goes a long way with hand cream, so start with a small amount and add more as needed. Too much cream can leave your hands feeling greasy or sticky.
-
Massage the cream in: To help the cream penetrate your skin and provide maximum moisturization, use circular motions to massage it into your hands. Pay special attention to the areas that are most prone to cracking, such as around your knuckles.
-
Apply regularly: For best results, apply hand cream at least twice a day, especially after washing your hands. This will help keep your skin hydrated and prevent further cracking.
-
Consider wearing gloves: If your hands are extremely dry or cracked, consider wearing gloves after applying the cream. This will help lock in moisture and give the cream more time to work its magic.
By following these application techniques, you can help ensure that your homemade hand cream is as effective as possible in treating cracked skin.
Storage and Shelf Life of Homemade Hand Cream
Once you have made your homemade hand cream, you will need to store it properly to ensure it stays fresh and effective. Here are some tips for storing your homemade hand cream:
- Store your hand cream in a clean, dry, airtight container. Glass jars or metal tins with tight-fitting lids work well.Shop on Amazon
- Keep your hand cream out of direct sunlight and away from heat sources.Shop on Amazon
- If you have added essential oils to your hand cream, store it in a dark-colored container to protect the oils from light.Shop on Amazon
- Label your hand cream with the date you made it and the ingredients you used.Shop on Amazon
The shelf life of homemade hand cream will depend on the ingredients you used and how you stored it. Generally, homemade hand cream made with natural ingredients will last for about 3 to 6 months. However, if you notice any changes in color, texture, or smell, it’s time to discard the cream.
To extend the shelf life of your homemade hand cream, you can add a natural preservative such as vitamin E oil or grapefruit seed extract. These preservatives can help prevent the growth of bacteria and mold in your hand cream.
In summary, storing your homemade hand cream properly and using a natural preservative can help extend its shelf life. However, it’s important to keep an eye on the cream and discard it if you notice any changes.
Safety and Allergy Considerations
When making homemade hand cream for cracked skin, it is essential to consider safety and allergy concerns. Here are some tips to keep in mind to ensure that your hand cream is safe and effective:
Use High-Quality Ingredients
When making homemade hand cream, it is crucial to use high-quality ingredients. Using low-quality ingredients can lead to skin irritation and other problems. Always choose natural, organic ingredients that are free of harmful chemicals and preservatives.
Test for Allergies
Before using any new hand cream, it is essential to test it for allergies. Apply a small amount of the cream to the inside of your wrist and wait for 24 hours. If you experience any redness, itching, or other signs of an allergic reaction, do not use the hand cream.
Avoid Irritants
When making homemade hand cream, it is essential to avoid irritants that can cause skin irritation and other problems. Some common irritants include fragrances, dyes, and preservatives. Always choose fragrance-free, dye-free, and preservative-free ingredients.
Store Properly
After making homemade hand cream, it is essential to store it properly. Store the hand cream in a cool, dry place, away from direct sunlight and heat. This will help to preserve the quality of the hand cream and prevent it from spoiling.
Use with Caution
When using homemade hand cream, it is essential to use it with caution. Apply a small amount of hand cream to your hands and massage it in gently. Do not apply too much hand cream, as this can lead to greasy hands and other problems.
Frequently Asked Questions
What ingredients are essential for creating an effective homemade hand cream for dry skin?
When it comes to creating a homemade hand cream for dry, cracked skin, there are a few key ingredients that are essential. These include natural oils like coconut oil, almond oil, and jojoba oil, as well as natural butters like shea butter and cocoa butter. Beeswax is another important ingredient as it helps to create a protective barrier on the skin, preventing moisture loss. Essential oils like lavender, tea tree, and peppermint can also be added for their healing and soothing properties.
How can I make a non-greasy hand cream at home?
One common issue with homemade hand creams is that they can often leave a greasy residue on the skin. To create a non-greasy hand cream, it’s important to use a blend of oils and butters that absorb quickly into the skin. For example, a blend of almond oil, jojoba oil, and shea butter can create a fast-absorbing yet deeply moisturizing hand cream. Adding a small amount of cornstarch or arrowroot powder can also help to absorb excess oil and prevent a greasy feel.
Which oils are most beneficial for healing cracked hands in DIY hand creams?
There are several oils that are particularly beneficial for healing cracked hands in DIY hand creams. Coconut oil is rich in vitamins K and E, which help to repair broken skin. Jojoba oil is similar in composition to the natural oils in our skin, making it easily absorbed and deeply moisturizing. Wheat germ oil is another great option, as it’s packed full of vitamins E and B, essential fatty acids, and omega-3 oils. Finally, sweet almond oil is a gentle and nourishing oil that’s perfect for sensitive skin.
What are the steps to create a homemade hand cream using glycerin?
Creating a homemade hand cream using glycerin is a simple process. Start by melting together equal parts beeswax and shea butter in a double boiler. Once melted, add in a few tablespoons of glycerin and stir until well combined. Next, add in a few drops of your favorite essential oil for fragrance. Pour the mixture into a small jar or container and let it cool for at least an hour. Once cooled, the cream will have a thick and creamy consistency that’s perfect for healing dry, cracked hands.