Making your own organic grass-fed tallow balm is an excellent way to nourish your skin with natural, wholesome ingredients. This simple process allows you to create a moisturizer that is rich in vitamins and beneficial fatty acids, providing deep hydration and promoting healthy skin. Whether you prefer a light and fluffy whipped balm or a solid consistency, you can easily customize your product to suit your preferences.
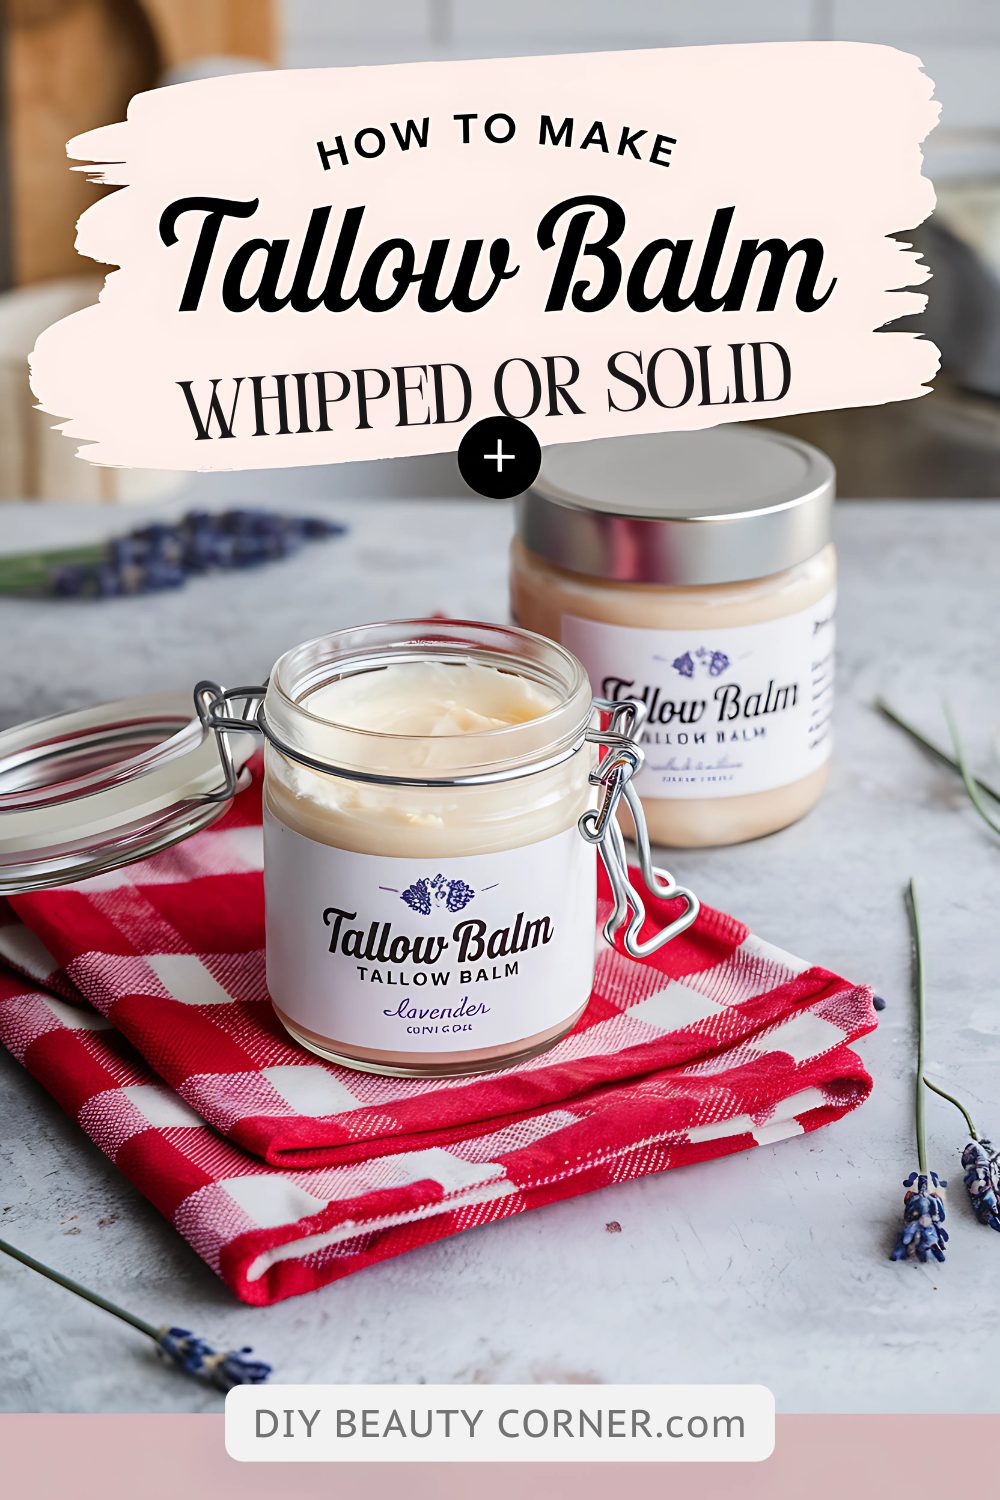
To get started, you’ll need a few key ingredients: organic grass-fed tallow, a liquid oil of your choice, and optional essential oils for fragrance. The grass-fed tallow is crucial, as it contains higher nutrient content compared to non-grass-fed options. By using just these few ingredients, you can avoid the toxic compounds found in many commercial lotions and enjoy the benefits of a completely natural skincare solution.
As you follow the recipe, you’ll learn the techniques to melt and whip the tallow, creating a luxurious balm that can be used for various skin concerns. With each step, you’ll gain confidence in your crafting abilities, resulting in a product that not only pampers your skin but is also free from harmful additives.
Essentials of Organic Tallow Balm
Creating an effective organic tallow balm involves understanding the primary ingredient, sourcing quality materials, and selecting complementary additives. This section explores these essential elements for crafting a nourishing and natural skin care product.
Understanding Tallow and Its Benefits
Tallow is rendered fat from animals, typically sourced from beef. Grass-fed tallow is particularly valued for its rich nutrient profile. It contains vitamins A, D, E, and K, along with essential fatty acids.
These components contribute to skin hydration and repair. The unique composition of tallow closely resembles human skin fat, promoting better absorption and moisture retention. It also aids in healing dry or damaged skin, making it suitable for conditions like eczema.
In addition to moisturizing, tallow balm can act as a natural barrier against environmental pollutants. This protective layer helps maintain skin integrity without clogging pores.
Sourcing Quality Grass-Fed Tallow
When sourcing tallow, prioritize grass-fed options from reputable farms. Grass-fed animals are generally healthier and produce higher-quality fat. Look for suppliers that provide transparency about their farming practices.
Consider contacting local farmers or purchasing from trusted online sources. Evaluate product quality by checking for certifications, such as organic or pasture-raised. This ensures the tallow is free from harmful additives and medications.
You may also want to inquire about the rendering process. Cold-rendered tallow preserves the fat’s nutrients better than conventional methods, enhancing its benefits for your skin.
Selecting Additional Natural Ingredients
While tallow is the core ingredient, adding other natural substances can enhance the balm’s properties. Popular choices include jojoba oil, beeswax, and essential oils.
- Jojoba Oil: Mimics skin sebum, providing extra moisture without greasiness.
- Beeswax: Acts as a thickener and creates a protective barrier.
- Essential Oils: Offer fragrant benefits and potential therapeutic properties.
For a basic tallow balm, use the following ratios:
| Ingredient | Measurement |
|---|---|
| Grass-fed tallow | 1 cup |
| Jojoba oil | 1/4 cup |
| Beeswax | 2 tablespoons |
| Essential oils | 48 drops (optional) |
These additional ingredients not only contribute to texture but also increase the balm’s nutritional value, creating a well-rounded product for your skin care needs. Customize your tallow balm based on your skin type and preferences.
Creating Your Tallow Balm
Crafting your own tallow balm allows you to control the ingredients and customize the properties to suit your skin’s needs. The process involves preparation, methods for whipping or solidifying the balm, and proper storage to maintain quality.
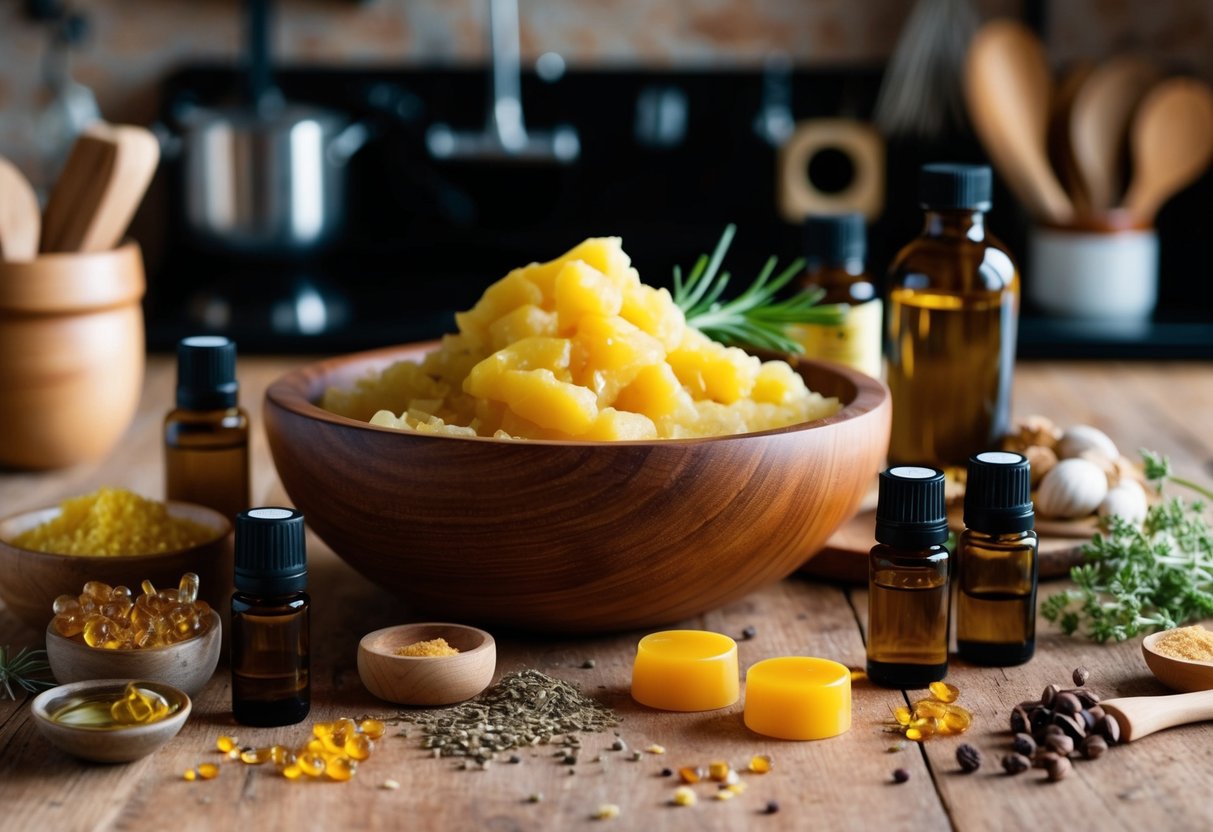
Preparation of Ingredients
To start, gather high-quality, organic grass-fed tallow, as this will enrich your balm with beneficial nutrients. You will also need oils and, optionally, essential oils for fragrance and additional benefits.
Basic Ingredients:
- Tallow: 3 ounces
- Carrier Oil (e.g., jojoba or olive oil): 2 ounces
- Beeswax: 1 ounce (for a firmer balm)
- Essential Oils: 15-20 drops (optional)
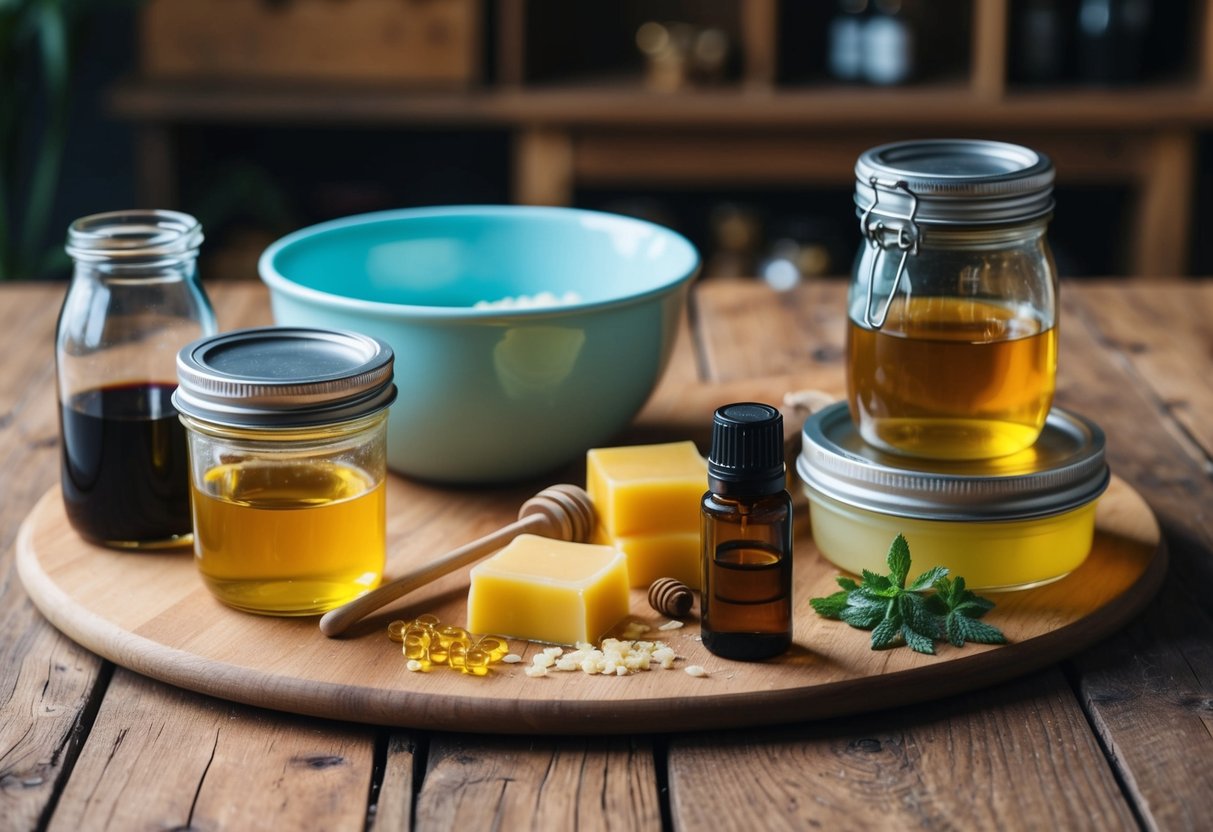
Ensure that all equipment, including measuring cups and mixing tools, are clean. This helps maintain the integrity of your balm and prevents contamination.
Whipped Tallow Balm Process
To create a whipped tallow balm, begin by melting your tallow using a double boiler on low heat. This method protects the delicate antioxidants within the fat.
Once melted, add your chosen carrier oil and stir well. For a luxurious touch, consider incorporating essential oils at this stage.
After mixing thoroughly, pour the liquid into a mixing bowl and let it cool for a few minutes. Use a hand mixer to whip the mixture until it becomes fluffy and light. Transfer the whipped balm into clean glass jars for storage.
Solid Tallow Balm Technique
In contrast to the whipped version, a solid balm requires a straightforward melting process. Start by combining your tallow, beeswax, and carrier oil into a double boiler.
Heat gently until the mixture is completely liquefied and blended. Stir continuously to ensure even distribution of ingredients. Once fully melted, remove from heat and let it cool slightly before pouring into containers.
Allow it to solidify at room temperature or place it in the refrigerator for faster setting. This method yields a richer, denser balm suitable for deep moisturization.
Storage and Shelf Life
Proper storage is crucial for extending the shelf life of your tallow balm. Use airtight glass jars to store your balm in a cool, dark location. Avoid exposing it to direct sunlight and heat, which can compromise its quality.
When stored correctly, the balm can last up to one year. Always check for any changes in smell or texture before use, as these can indicate spoilage. Enjoy the benefits of your homemade organic tallow balm for skin nourishment and care.