Close Menu
Homemade Skincare Recipes and Beauty Tips
    Pinterest
    Trending
    • DIY Rosemary Water Hair Rinse
    • Brown Sugar & Coconut Oil Scrub
    • Oatmeal & Yogurt Soothing Scrub
    • Turmeric & Rice Flour Scrub for Dark Spots
    • Coffee & Sugar Scrub Recipe at Home
    • DIY Lemon & Honey Body Scrub for Bright Skin
    • How to Do a Skincare Patch Test
    • How to Make Rice Water Rinse for Hair Growth
    • About Us
    • Contact Us
    • Disclaimer
    • Privacy Policy
    • Terms
    Homemade Skincare Recipes and Beauty Tips
    • Home
    • DIY Body Scrub Recipes
    • DIY Face Mask Recipes
    • DIY Body Butter Recipes
    • DIY Hair Growth Recipes
    • DIY Lip Balm Recipes
    Homemade Skincare Recipes and Beauty Tips
    Home»DIY Homemade Hair Growth Recipes»How to Make Peppermint & Jojoba Oil Stimulating Hair Growth Oil for Thicker, Healthier Hair
    DIY Homemade Hair Growth Recipes

    How to Make Peppermint & Jojoba Oil Stimulating Hair Growth Oil for Thicker, Healthier Hair

    HersheyBy HersheyMarch 29, 2022No Comments4 Mins Read
    Facebook Twitter Pinterest LinkedIn Tumblr Email
    Share
    Facebook Twitter LinkedIn Pinterest Email
    How to Make Peppermint & Jojoba Oil Stimulating Hair Growth Oil for Thicker, Healthier Hair

    Peppermint oil combined with jojoba oil creates a powerful blend that can stimulate hair growth and improve the overall health of your hair. This simple recipe not only enhances scalp circulation but also nourishes hair follicles, leading to thicker and stronger strands. Many people are drawn to the invigorating scent of peppermint, which can make the process feel refreshing and enjoyable.

    In this article, I will share my go-to recipe for making peppermint and jojoba oil hair growth oil. The balance of these ingredients ensures that the oil deeply conditions while promoting a healthy scalp environment. By incorporating this natural solution into your hair care routine, you can harness the benefits of essential oils to encourage hair growth and vitality.

    Let’s dive into the specifics of mixing these oils, so you can easily make your own stimulating hair growth oil at home. With just a few ingredients and simple steps, you can start reaping the rewards of this effective blend.

    Creating Your Hair Growth Oil

    Creating a stimulating hair growth oil is a straightforward process that requires careful selection of quality ingredients and precise mixing. I’ll outline the necessary components and provide you with step-by-step instructions to ensure you achieve the best results.

    Procuring Quality Ingredients

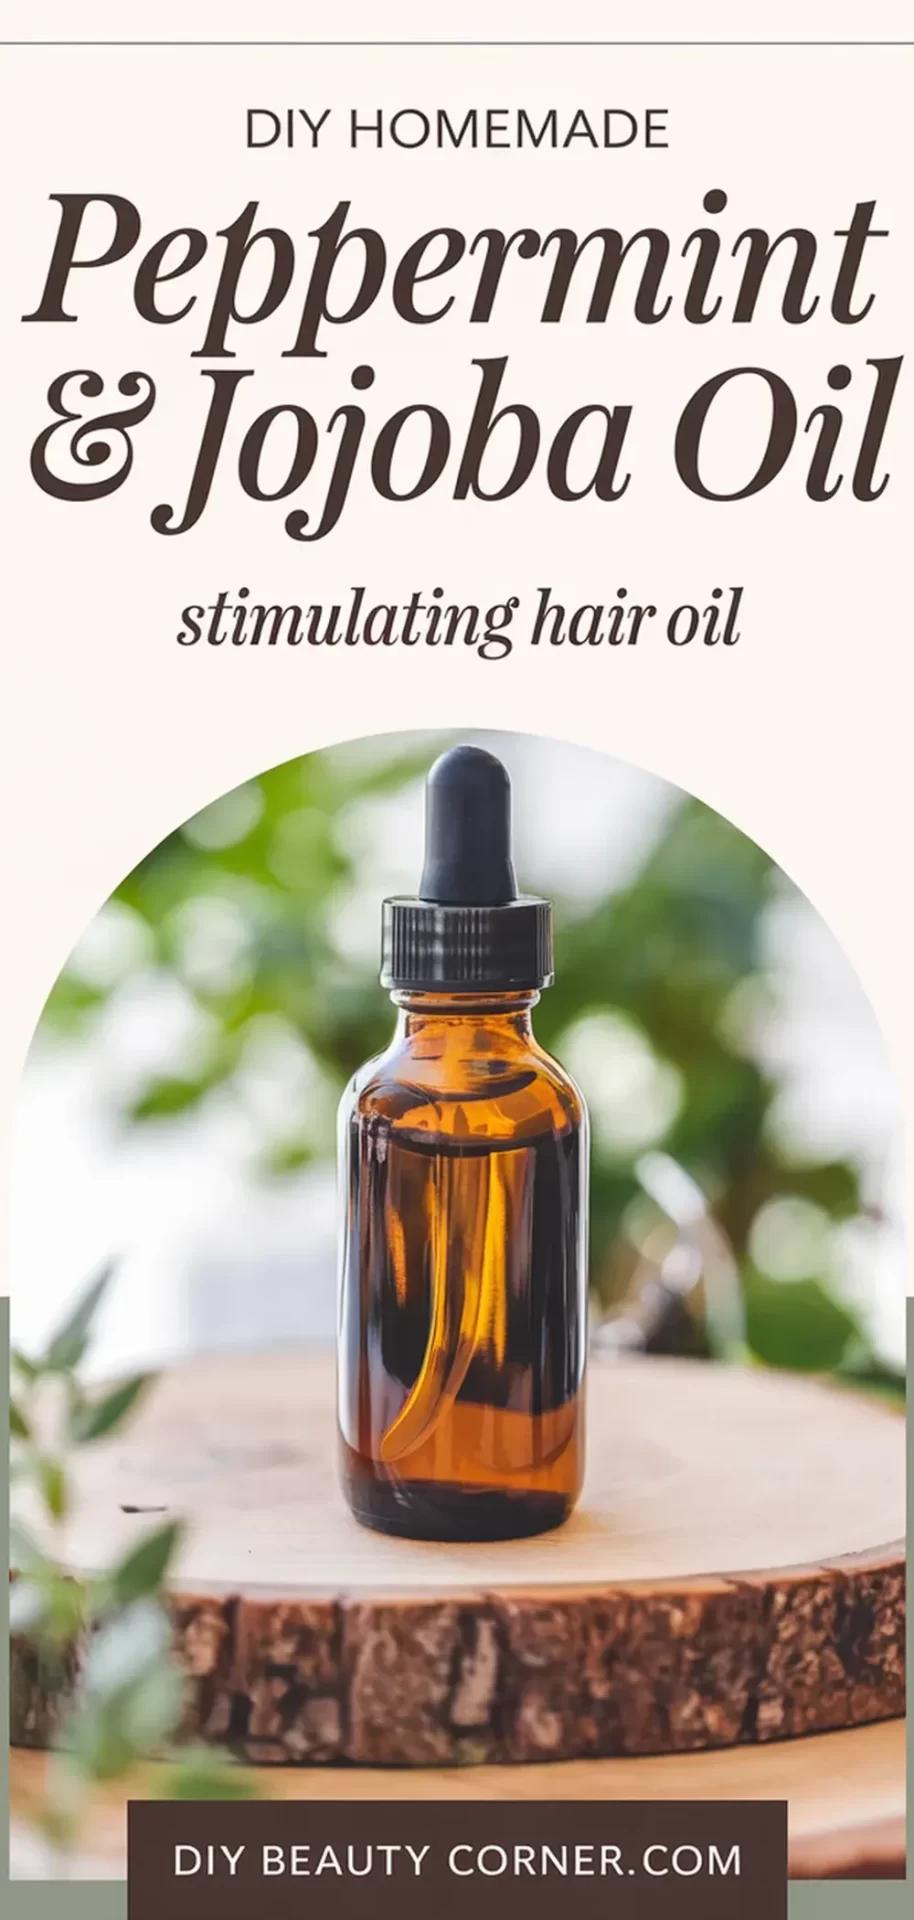
    For this hair growth oil, I recommend using high-quality essential oils and carrier oils. Essential oils are potent and should be pure and sourced from reputable suppliers. I select peppermint essential oil for its stimulating properties which may enhance blood circulation to the scalp.

    Jojoba oil acts as an excellent carrier oil since it closely resembles the natural oils produced by our scalp. When shopping, look for organic jojoba oil to avoid additives.

    Both oils can often be found at health food stores or online retailers. Ensure that the products are properly labeled and check for expiration dates.

    Step-by-Step Mixing Instructions

    To prepare the hair growth oil, I follow these precise measurements:

    • Peppermint Essential Oil: 6 drops
    • Jojoba Oil: 2 teaspoons
    1. Start by measuring 2 teaspoons of jojoba oil and pouring it into a clean dropper bottle or mixing bowl.
    2. Next, I add 6 drops of peppermint essential oil to the jojoba oil.
    3. Close the dropper bottle securely or use a spoon to mix if using a bowl, then shake or stir gently to combine the oils thoroughly.

    I prefer to keep the mixture in a cool, dark place to preserve the integrity of the oils. This recipe can be doubled or adjusted easily while maintaining the same ratios for effectiveness.

    Safe Storage Practices

    Proper storage of the hair growth oil ensures its longevity and effectiveness. I store my mixture in a dark glass bottle to protect it from sunlight, which can degrade the essential oils.

    I also label my bottle with the date of preparation and ingredients used. Keeping it in a cool area, away from heat sources, is essential.

    Typically, this oil can last for about 3-6 months if stored correctly. If I notice any changes in color, smell, or consistency, I discard the oil to avoid any adverse effects on my hair or scalp.

    Application and Usage Tips

    Applying peppermint and jojoba oil correctly enhances their benefits for hair growth. It’s important to ensure that I use the right techniques and follow a consistent regimen to maximize results.

    Applying the Oil Effectively

    To apply the stimulating hair growth oil, I start by preparing the mixture. Using a dropper, I take a small amount of the oil blend—preferably around 5-10 drops for my scalp. I partition my hair into sections to reach the scalp easily.

    Then, I gently massage the oil into my scalp using my fingertips. I focus on areas where thinning is noticeable to promote blood circulation and absorption. Massaging for about 5-10 minutes not only stimulates the scalp but also allows the oils to penetrate effectively.

    After massaging, I can leave the oil on, or if preferred, I might wrap my hair in a warm towel to enhance the absorption. For those with longer hair, applying a small amount along the strands can provide additional hydration.

    Frequency of Use for Optimal Results

    For best results, I find using the peppermint and jojoba oil blend 2-3 times per week is ideal. Consistency is key when it comes to hair growth treatments.

    I prefer to apply the oil in the evenings, allowing it to work overnight. This method provides an extended period for the oils to nourish my scalp and hair without interference from styling or product buildup.

    Leaving it on overnight can help in deep conditioning. Before my next wash, I might rinse it out thoroughly with a gentle shampoo to remove excess oil while keeping my hair hydrated. This frequency maintains a balance between nourishment and cleanliness, promoting healthier hair over time.

    21 Easy Homemade Hair Growth Recipes For Long And Thick Hair

    We are on YouTube
    Banana face mask 🍌#banana #skincare #facecare #shorts #beautytips #ytshorts
    December 1, 2025 ?! 💕🔥Use This Sound When Mixing Carrot #skincare #shorts #subscribe
    🚨 STOP! Just because it’s a traditional/viral hack doesn't mean it's safe. Mixing Lemon + Baking Soda for razor bumps is an alkaline/acid chemical reaction that can cause a severe burn and permanent scarring. We need to stop using kitchen ingredients on sensitive skin! Safe alternatives inside.

#razorbumps #razorburn #skincarefail #grandmahacks #diyskincare #chemicalburn #sensitiveskin #skincarescience #beautytok
    The Razor Bump Hack My Grandma Taught Me (🛑STOP Doing This!) #skincare
    Stop wasting money on travel size perfume! This easy DIY solid perfume hack uses Vaseline and your favorite scent to create a non-spill, long-lasting balm. 👉 FULL RECIPE IN THE PINNED COMMENT!

#shorts #perfumehack #solidperfume #DIYbeauty #Vaselinehack #longlastingperfume #cologne

Discover a simple yet effective perfume hack to make your favorite fragrance last all day! This video shows you how to combine perfume with vaseline to create a DIY solid perfume, perfect for on-the-go application. Learn how to make perfume that stays with you, offering long lasting perfumes and fragrance hacks for a lasting scent.
    🤯 How to Make Perfume Last 10x Longer #beautyhacks #perfumetrick #lifehack
    DIY TURMERIC MASK for GLASS SKIN (Actually Works!) 

Achieve the viral Glass Skin look at home with this simple, cost-effective DIY face mask! This natural recipe uses three potent ingredients to give your face an incredible glow, hydration, and softness.

✨ Why this mask works:

Turmeric (Cúrcuma): Known for its brightening properties to target dullness and even skin tone.

Cornstarch (Maicena): Helps soothe the skin and create a smooth mask texture.

Honey (Miel): A powerful natural humectant that draws in and locks moisture into the skin, keeping it supple.

Ingredients Needed:

2 Tbsp Cornstarch
2 Tbsp Turmeric Powder
1 Cup Honey (approx.)

Directions:

Mix the cornstarch and turmeric powder well.

Add honey and stir until you achieve a thick, smooth, golden paste.

Apply to a clean face and leave on for 15-20 minutes before rinsing.

#Shorts #DIYFaceMask #GlassSkin #TurmericMask #SkincareHacks #NaturalSkincare #HomemadeRemedies #BeautyHacks #Cúrcuma #Maicena #HoneyMask

Want that viral glass skin glow naturally? This easy DIY face mask combines cornstarch, turmeric, and honey to create a powerful skincare solution. This homemade face mask hydrates, softens, and gives you a vibrant, healthy glowing skin, perfect for your routine.
    🥰 DIY TURMERIC MASK for GLASS SKIN #skincare
    🤯 DIY Almond Mask for Glass Skin (It Actually Works!)

You won't believe how easy this is! 🧼 Tired of expensive serums? This simple, homemade skincare hack uses just two key ingredients—almonds and raw milk—to reveal an instant, visible glow.

The Secret: Soaked and peeled almonds are a gentle, natural source of Vitamin E and healthy fats, while raw milk provides lactic acid for mild, non-irritating exfoliation.

➡️ How to Get the Glow:

Soak 2 almonds overnight (or for a few hours).

Peel the skin off.

Grind the peeled almonds with a splash of raw milk until you get a thick, granular paste. (You can use a mortar and pestle or a small blender!)

Apply the paste to your face/wrist, rub gently for 30 seconds, and wipe off.

Watch the magic happen! ✨ Use this DIY face scrub 1-2 times a week for a brighter complexion, reduced tan, and that sought-after glass skin texture.

👍 Like & Save this video if you love natural beauty secrets! 🔔 Subscribe for more easy homemade skincare recipes!

#GlassSkin #DIYBeauty #AlmondMask #SkincareHacks #NaturalSkincare #HomemadeFaceMask #InstantBrightening #GlowUp #RawMilkBenefits #EasySkincare #Exfoliation #BeautyTips #IndianSkincare

Watch as she creates a luxurious "almond face pack" using ancient technology, transforming simple ingredients into a powerful "skincare routine" for instant "glowing skin". This natural skincare remedies video shows you "how to make" a traditional beauty paste, perfect for a soothing moment of self care. ✨
    🤯 DIY Almond Mask for Glass Skin (It Actually Works) #skincare
    Load More... Subscribe
    Share. Facebook Twitter Pinterest LinkedIn Tumblr Email
    Hershey

    Hi, I’m Hershey — a lifelong natural skincare enthusiast with a love for creating simple, homemade beauty solutions that actually work. Inspired by my grandmother’s herbal remedies and my own sensitive skin journey, I started DIY Beauty Corner to share effective, affordable skincare recipes made from ingredients you already have at home.

    Related Posts

    DIY Rosemary Water Hair Rinse

    September 16, 2025

    How to Make Rice Water Rinse for Hair Growth

    August 9, 2025

    Love This DIY Homemade Banana & Honey Hair Growth Mask for Stronger, Healthier Hair

    October 10, 2024

    Hi, I'm Hershey. I'm a skin care and beauty blogger who's NOT a morning person. (Seriously, who is?) I love making DIY skin care remedies from natural ingredients, and sharing my recipes and tips that can be used at home. Whether you're looking for ways to save money on your beauty routine, or just want to know how to take better care of your skin, you'll find something useful on my blog. So why not stick around for a while?

    Grandmas Homemade Face Mask Recipe

    Continue Reading
    DIY Beauty Corner

    Popular This Month

    • Sugar & Honey Body Scrub
    • Organic Body Butter
    • Korean Glass Skin Rice Mask
    • Turmeric Glow Body Scrub
    • Rosemary Hair Growth Oil
    • Quick Coffee Sugar Scrub
    • Vanilla & Brown Sugar Scrub
    • Pink Whipped Sugar Scrub
    • Non-Greasy Body Butter
    • Lemon Sugar Scrub

    Browse by DIY Recipe Type

    Body Scrub Recipes
    Face Mask Recipes
    Body Butter Recipes
    Hair Growth Recipes
    Lip Balm Recipes
    Perfume Recipes
    ⚠️ Please note: I’m not a licensed dermatologist or medical professional. All recipes shared are based on personal experience and research. Always perform a patch test before trying new skincare, and consult a healthcare provider for specific concerns.
    Pinterest YouTube
    • About
    • Contact
    • Disclaimer
    • Privacy Policy
    • Terms and Conditions
    © 2025 DIYBeautyCorner.com.

    Type above and press Enter to search. Press Esc to cancel.