Making your own cologne with essential oils is a fun and creative way to personalize your scent. With just a few simple ingredients, you can create a unique fragrance that is tailored to your preferences. Not only is it cost-effective, but it also allows you to avoid the harsh chemicals found in many store-bought colognes.
To get started, you’ll need to gather a few basic supplies, including essential oils, carrier oils, and alcohol. Essential oils are the key ingredient in any cologne recipe, providing the fragrance and therapeutic benefits. Carrier oils, such as jojoba or sweet almond oil, are used to dilute the essential oils and help them blend together. Alcohol, typically 190 proof vodka or grain alcohol, is used as a preservative and to help the fragrance last longer.
When selecting essential oils for your cologne, it’s important to consider the top, middle, and base notes. Top notes are the initial scent that you smell when you first apply the cologne, while base notes are the underlying scent that lasts the longest. Middle notes help to balance the fragrance and provide depth. By combining different essential oils with varying notes, you can create a complex and well-rounded scent.
Understanding Essential Oils

Essential oils are highly concentrated plant extracts that are obtained through distillation or mechanical methods such as cold pressing. They are used for a variety of purposes, including aromatherapy, personal care, and household cleaning products. In this section, we will explore the different types of essential oils, their benefits, and safety considerations when using them.
Types of Essential Oils
There are many types of essential oils available, each with its own unique properties and aroma. Some of the most popular essential oils include:
- Lavender: Known for its calming and soothing properties, lavender essential oil is often used in aromatherapy to promote relaxation and reduce stress.
- Peppermint: Known for its cooling and invigorating properties, peppermint essential oil is often used to relieve headaches and promote mental clarity.
- Lemon: Known for its refreshing and uplifting properties, lemon essential oil is often used in cleaning products and as a natural air freshener.
- Tea Tree: Known for its antiseptic and anti-inflammatory properties, tea tree essential oil is often used in skincare products to treat acne and other skin conditions.
Benefits of Using Essential Oils
Essential oils have been used for centuries for their therapeutic properties. Some of the benefits of using essential oils include:
- Aromatherapy: Essential oils can be used in aromatherapy to promote relaxation, reduce stress, and improve mood.
- Skincare: Essential oils can be used in skincare products to treat acne, reduce inflammation, and improve the overall appearance of the skin.
- Household Cleaning: Essential oils can be used in household cleaning products as a natural alternative to harsh chemicals.
Safety Considerations
While essential oils offer many benefits, it is important to use them safely. Here are some safety considerations to keep in mind:
- Always dilute essential oils before use, as they can be irritating to the skin in their undiluted form.
- Do not ingest essential oils, as they can be toxic if ingested.
- Keep essential oils out of reach of children and pets.
- Consult with a healthcare professional before using essential oils if you are pregnant, nursing, or have a medical condition.
By understanding the different types of essential oils, their benefits, and safety considerations when using them, you can make informed decisions about how to incorporate them into your daily routine.
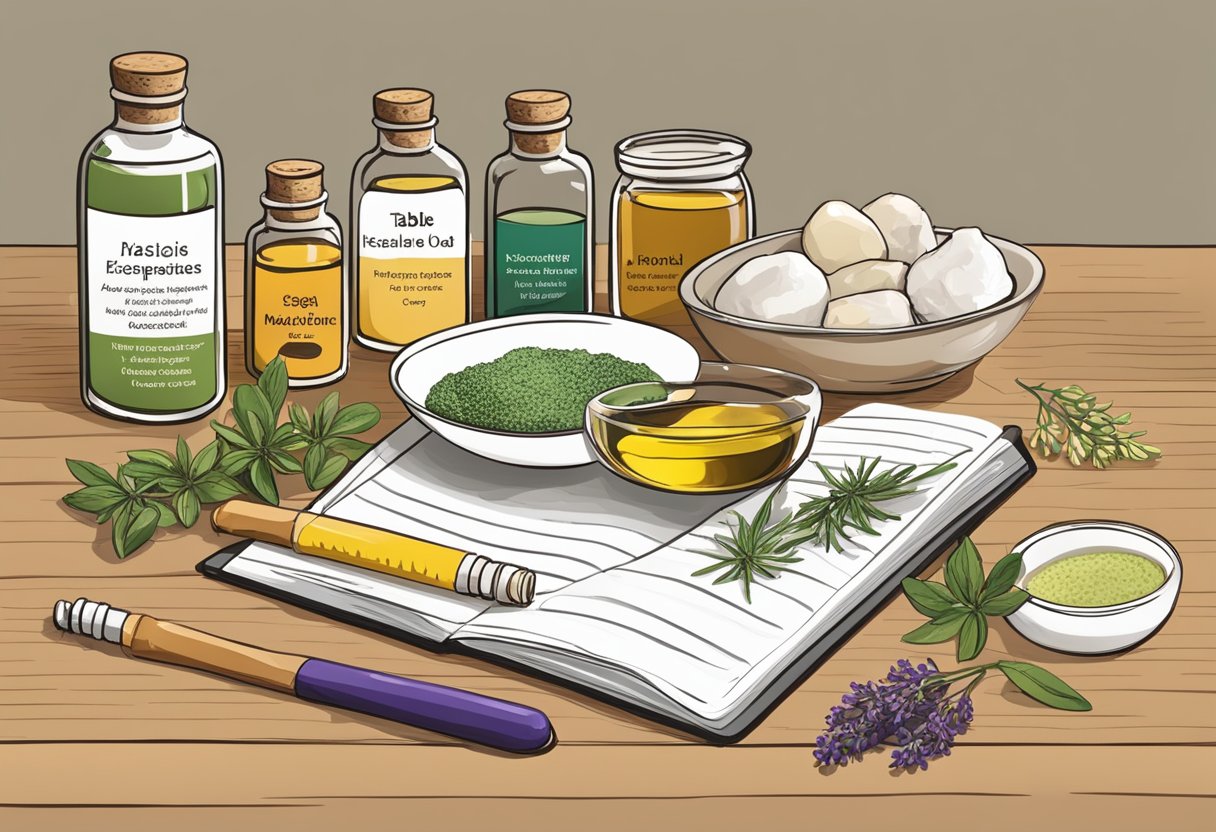
Gathering Materials

Before making your own cologne with essential oils, it is important to gather all the necessary materials. The following subsections will cover the different materials required for making cologne.
Choosing Your Base
The base of a cologne is the foundation of the scent and typically consists of alcohol or water. Alcohol is commonly used as it has a long shelf life and helps to carry the scent. Water can also be used as a base but may require additional preservatives to prevent spoilage. When selecting a base, it is important to choose a high-quality alcohol or water to ensure the longevity of the cologne.
Selecting Carrier Oils
Carrier oils are used to dilute the essential oils and help to disperse the scent. Some common carrier oils include jojoba oil, sweet almond oil, and grape seed oil. When selecting a carrier oil, it is important to choose one that is light and odorless to avoid interfering with the scent of the essential oils. Additionally, it is important to choose a carrier oil that is safe for use on the skin and does not cause irritation.
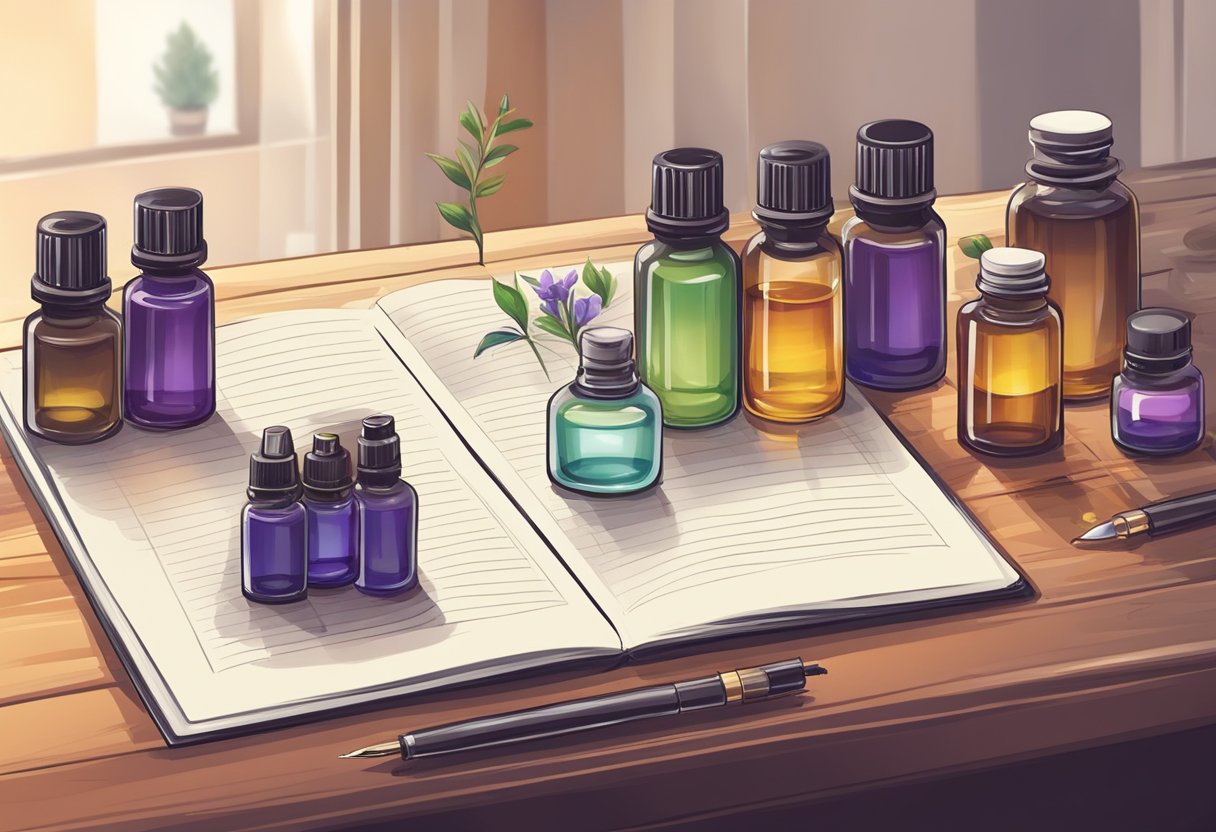
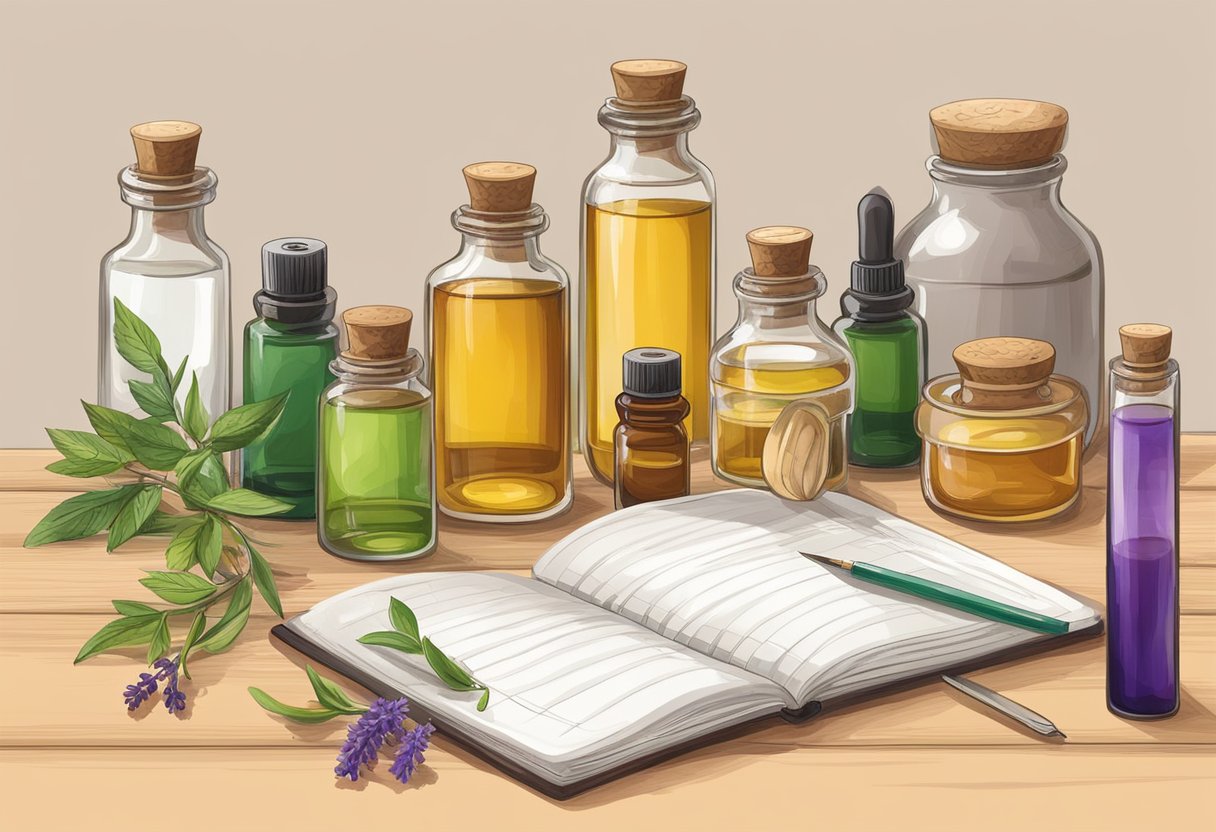
Essential Oil Blending Supplies
To create a unique scent, it is important to have a variety of essential oils to blend together. Some essential oils commonly used in cologne include bergamot, cedarwood, and sandalwood. Other essential oils such as lemon, lavender, and peppermint can be used to add a refreshing or calming element to the scent. It is important to have a variety of essential oils on hand to experiment with and create a unique scent that appeals to personal preferences.
In addition to essential oils, it is important to have supplies for blending such as pipettes, glass droppers, and mixing bowls. These supplies will help to ensure accurate measurements and proper blending of the essential oils.
Designing Your Scent

Scent Profiles
Before creating your own cologne with essential oils, it is important to understand the different scent profiles. A fragrance is typically composed of three notes: top, middle, and base. The top note is the initial scent that you smell when you first apply the fragrance, and it typically lasts for 15-30 minutes. The middle note is the heart of the fragrance and lasts for several hours. The base note is the foundation of the fragrance and lasts the longest, up to 24 hours.
When selecting essential oils for your cologne, consider the scent profiles of the oils. Essential oils can be categorized into different scent families such as floral, citrus, woody, spicy, and herbal. It is important to choose oils that complement each other and create a balanced fragrance.
Creating a Balanced Fragrance
To create a balanced fragrance, it is important to use a combination of top, middle, and base notes. The top note should be a light, refreshing scent such as citrus or mint. The middle note should be a more complex scent such as floral or spicy. The base note should be a rich, deep scent such as sandalwood or vanilla.
When designing your scent, start by selecting your base note and then build the fragrance around it. Add in the middle note and then finish with the top note. It is important to experiment with different combinations of essential oils to find the perfect balance.
Experimentation and Testing
After creating your fragrance, it is important to test it out before using it regularly. Apply a small amount to your skin and let it sit for a few hours to see how the fragrance develops. If you are not happy with the fragrance, adjust the ratios of the essential oils until you achieve the desired scent.
Remember that creating your own cologne with essential oils is a personal experience, and everyone’s preferences are different. Don’t be afraid to experiment and try new things until you find the perfect fragrance for you.
Mixing Your Cologne
Measuring Essential Oils
To make your own cologne with essential oils, you’ll need to measure out the oils carefully. Start by selecting your essential oils and determining the amount you’ll need. A good rule of thumb is to use 20-30 drops of essential oil per 1 ounce of carrier oil. You can adjust this ratio to suit your preferences, but be careful not to use too much essential oil, as it can be overwhelming.
Combining with Carrier Oil
Once you’ve measured out your essential oils, it’s time to combine them with a carrier oil. Carrier oils are used to dilute the essential oils and help them blend together. Popular carrier oils include sweet almond oil, jojoba oil, and grapeseed oil. Mix the essential oils and carrier oil together in a small glass bottle and shake well to combine.
Adding Alcohol and Water
To create a well-structured cologne, you’ll need to add alcohol and water to your essential oil mixture. Use a high-proof alcohol, such as vodka or grain alcohol, and mix it with distilled water in a separate container. Then, add this mixture to your essential oil and carrier oil mixture, a little at a time, until you reach your desired scent strength. Be sure to shake the bottle well after each addition to ensure the ingredients are fully blended.
Remember, making your own cologne with essential oils is a fun and creative process. Don’t be afraid to experiment with different oils and ratios to find your perfect scent. With a little practice and patience, you’ll be able to create a unique and long-lasting cologne that suits your style and personality.
Maturation Process
Cologne making is an art that requires patience and precision. The maturation process is what gives your cologne its depth and complexity. Here are some tips to help you through the maturation process.
Curing Your Cologne
Curing your cologne is an essential step in the maturation process. It involves letting your cologne sit for a few days to a few weeks to allow the scent to develop fully. The curing process allows the essential oils to blend together and mellow out.
To cure your cologne, store it in a cool, dark place, away from direct sunlight. You can use a glass bottle with a tight-fitting lid to store your cologne. Shake the bottle gently every day to help the oils blend together.
The curing time varies depending on the recipe you use. Some recipes may only need a few days, while others may need up to two weeks. Be patient and allow your cologne to cure fully before using it.
Aging for Optimal Scent
Aging your cologne is the final step in the maturation process. It involves allowing your cologne to age for a few weeks to a few months to achieve the optimal scent.
To age your cologne, store it in a cool, dark place, away from direct sunlight. You can use a glass bottle with a tight-fitting lid to store your cologne. Shake the bottle gently every few days to help the oils blend together.
The aging time varies depending on the recipe you use. Some recipes may only need a few weeks, while others may need up to three months. The longer you age your cologne, the more complex and sophisticated the scent will become.
In conclusion, the maturation process is an essential step in making your own cologne with essential oils. Curing your cologne and aging it properly will help you achieve the optimal scent. Be patient and allow your cologne to mature fully before using it.
Bottling and Storage
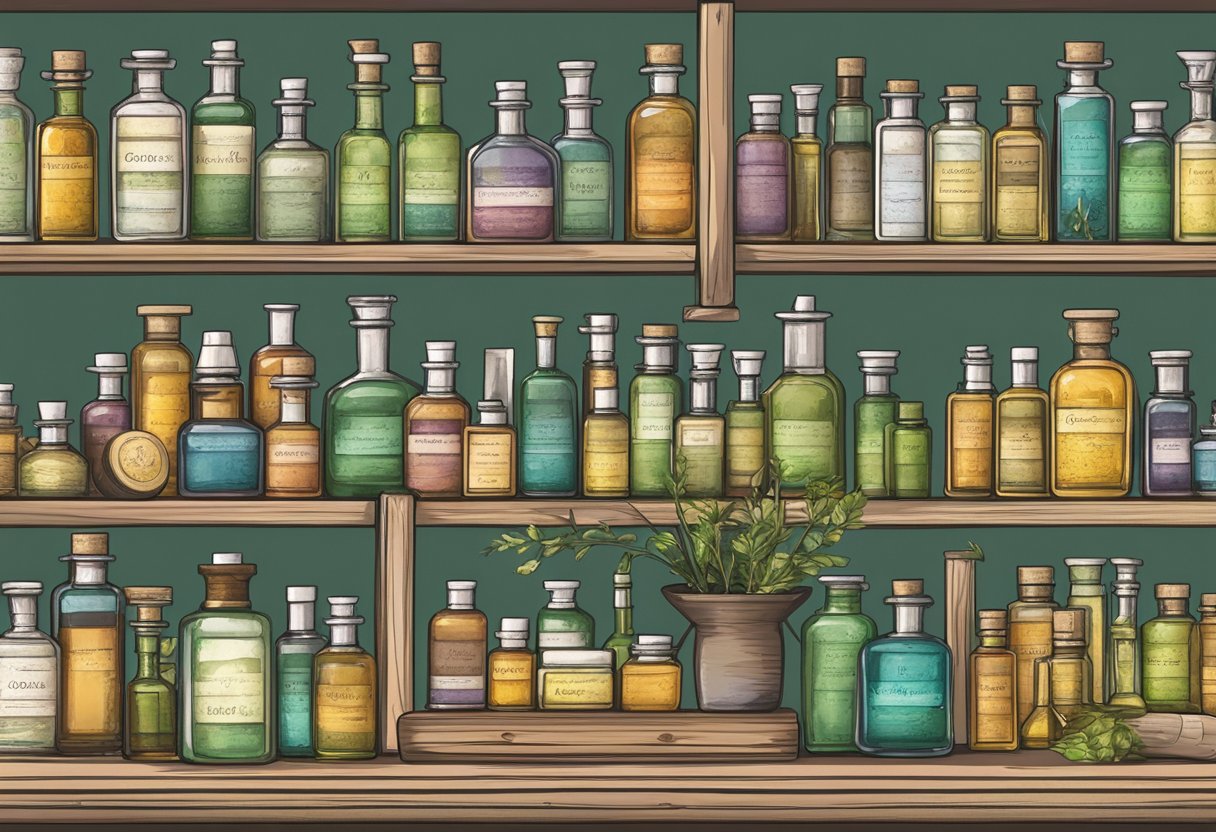
Choosing the Right Container
When it comes to bottling your homemade cologne, it’s important to choose the right container. A dark glass bottle with a spray nozzle is a popular choice, as it helps to protect the essential oils from light and air exposure. Amber or cobalt blue glass bottles are also great options as they further protect the oils from UV light.
It’s important to avoid plastic bottles as they can react with the essential oils, causing them to break down and lose their potency. Additionally, clear glass bottles should be avoided as they allow light to penetrate, which can also cause the oils to degrade.
Labeling and Packaging
Once you have chosen the right container, it’s important to label and package your cologne properly. This is especially important if you plan to give your cologne as a gift or sell it.
Labeling should include the name of the cologne, the date it was made, and a list of ingredients. This information can be printed on a small label and attached to the bottle.
Packaging can be as simple as placing the bottle in a small box or bag. If you’d like to add a personal touch, consider creating custom labels or packaging that reflect the scent of your cologne.
Storing Your Cologne Safely
Proper storage is key to ensuring your homemade cologne stays fresh and potent. Store your cologne in a cool, dark place away from direct sunlight and heat sources.
It’s also important to keep your cologne out of reach of children and pets, as essential oils can be harmful if ingested. If you have any concerns about the safety of your cologne, consult with a healthcare professional or aromatherapist.
By choosing the right container, labeling and packaging properly, and storing your cologne safely, you can enjoy your homemade scent for months to come.
Application Tips
How to Apply Cologne
When applying cologne, it’s important to remember that a little goes a long way. Start by spraying or dabbing a small amount onto the pulse points, such as the wrists, neck, and chest. These areas are warmer and tend to emit more heat, which helps to activate the scent.
It’s important to avoid rubbing the cologne into the skin, as this can cause the fragrance to break down and evaporate more quickly. Instead, allow the cologne to air dry and settle on the skin.
Cologne Longevity Tips
To make the most out of your homemade cologne, there are a few tips that can help to prolong its longevity.
First, store your cologne in a cool, dark place, away from direct sunlight and heat. Exposure to light and heat can cause the essential oils in the cologne to break down and lose their potency.
Second, apply a small amount of unscented lotion or petroleum jelly to the pulse points before applying the cologne. This can help to lock in the fragrance and prevent it from evaporating too quickly.
Finally, avoid over-applying the cologne. While it may be tempting to apply more to enhance the scent, this can actually have the opposite effect and cause the fragrance to become overwhelming and unpleasant.
By following these simple application and longevity tips, you can enjoy your homemade cologne for longer and make the most out of the essential oils used to create it.
Customization Ideas
Personalizing Your Cologne
One of the best things about making your own cologne with essential oils is that you can customize it to your liking. You can create a scent that is unique to you and reflects your personality. Here are some ideas for personalizing your cologne:
-
Choose essential oils that you love: Pick scents that you enjoy and that make you feel good. You can also choose oils based on their therapeutic properties. For example, if you want a calming scent, you could use lavender oil.
-
Experiment with different combinations: Try mixing different essential oils together to create a unique blend. You can start with a few drops of each oil and adjust the ratios until you find a combination that you like.
-
Adjust the strength of your cologne: You can make your cologne stronger or weaker by adjusting the amount of essential oils you use. If you want a stronger scent, use more essential oils. If you want a lighter scent, use less.
Seasonal Variations
Another way to customize your cologne is to create seasonal variations. Here are some ideas for seasonal scents:
-
Spring: Try using floral scents like lavender, rose, and jasmine. These scents are light and fresh and perfect for the spring season.
-
Summer: Citrus scents like lemon, lime, and grapefruit are great for the summer. They are refreshing and energizing.
-
Fall: Warm, spicy scents like cinnamon, clove, and nutmeg are perfect for the fall season. They are cozy and comforting.
-
Winter: Woodsy scents like cedarwood, pine, and spruce are great for the winter. They are grounding and calming.
By customizing your cologne with essential oils, you can create a scent that is unique to you and perfect for any occasion.
Frequently Asked Questions

What essential oils are typically used to create a masculine cologne scent?
When creating a masculine cologne scent, essential oils such as cedarwood, sandalwood, bergamot, vetiver, and patchouli are commonly used. These oils have a woody, earthy, and spicy scent that is often associated with masculine fragrances.
Can you provide a basic recipe for making men’s cologne with essential oils?
Yes, here is a basic recipe for making men’s cologne with essential oils:
- 10 drops of cedarwood essential oil
- 5 drops of bergamot essential oil
- 3 drops of sandalwood essential oil
- 2 drops of vetiver essential oil
- 1 drop of patchouli essential oil
- 1/4 cup of high-proof alcohol (such as vodka or Everclear)
Mix the essential oils and alcohol together in a glass bottle and let it sit for at least 48 hours before using. This will allow the scent to blend and mature.
What is the proper dilution ratio of essential oils to alcohol in homemade cologne?
The proper dilution ratio of essential oils to alcohol in homemade cologne is typically 2-3% essential oil to alcohol. This will ensure that the scent is not too overpowering and that the cologne is safe to use on the skin.
How can one create a solid cologne using essential oils?
To create a solid cologne using essential oils, you will need beeswax, shea butter, carrier oil (such as sweet almond oil), and your desired essential oils. Melt the beeswax and shea butter together in a double boiler, then add the carrier oil and essential oils. Pour the mixture into a container and let it cool and solidify. You can then apply the solid cologne to your skin as desired.
What materials are needed to create a DIY cologne kit at home?
To create a DIY cologne kit at home, you will need a selection of essential oils (such as cedarwood, bergamot, sandalwood, vetiver, and patchouli), high-proof alcohol, glass bottles, and a dropper. You may also want to include carrier oils, such as sweet almond oil or jojoba oil, if you plan on creating a solid cologne. With these materials, you can create a variety of custom colognes to suit your preferences.