This post may contain affiliate links. As an Amazon Associate I earn from qualifying purchases.
Easy DIY Coffee-Infused Lip Balm ☕️ | Soft, Hydrated Lips with a Morning Boost
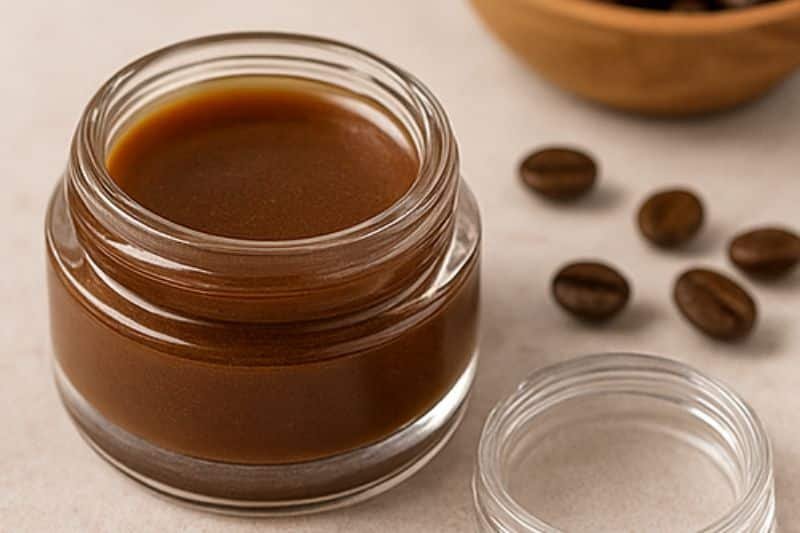
Love coffee? Bring that cozy aroma to your lip care with this DIY coffee-infused lip balm. Made with beeswax, rich butters, and coffee-infused oil, it leaves lips soft, protected, and subtly scented—perfect for an everyday lip rescue or a thoughtful handmade gift.
Ingredients List
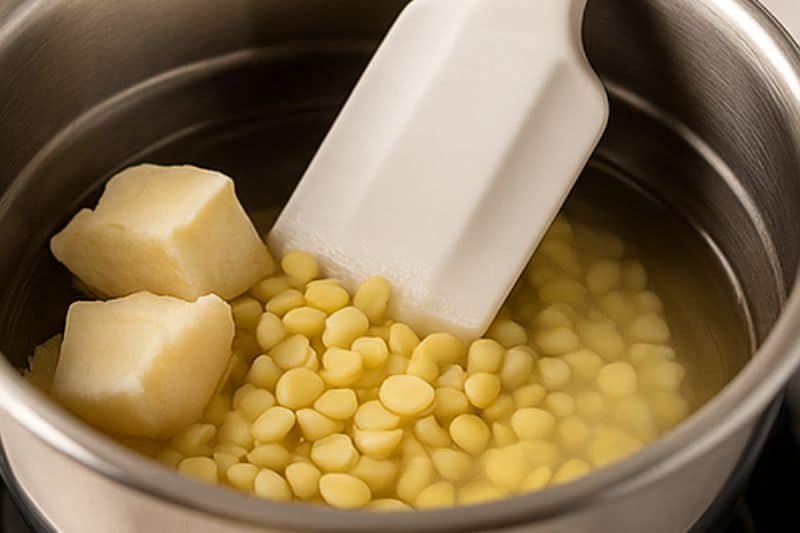
- 4 tsp beeswax pastilles (or finely chopped beeswax)
- 2 tsp shea butter (or cocoa butter)
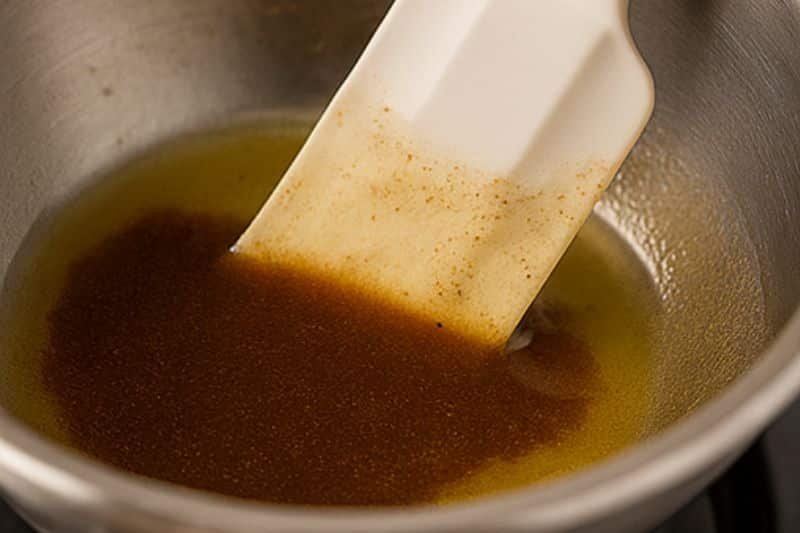
- 2 tsp coffee-infused oil (see quick method below)
- Optional: 2–3 drops vitamin E oil
- Optional: 2–3 drops vanilla or peppermint extract (lip-safe)
Quick Coffee-Infused Oil (5–15 min)
- Add 2 tbsp carrier oil (sweet almond, jojoba or olive) + 1 tbsp coarsely ground coffee to a heat-safe jar.
- Place jar in a warm water bath (simmering—not boiling) for 5–15 minutes, stirring occasionally.
- Strain through a fine sieve or coffee filter. Cool before using.

Recipe
- Set up a double boiler. Add beeswax and shea (or cocoa) butter; warm gently until fully melted.
- Stir in the coffee-infused oil (and vitamin E/flavour if using). Mix until smooth.
- Immediately pour into clean lip balm tubes or 15–30 ml tins/jars.
- Let cool at room temperature ~30–60 minutes until firm.
🎥 Watch this quick video tutorial to see how the Coffee-Infused Lip Balm is made step by step:
Application
- Swipe on as needed for soft, hydrated lips.
- Store in a cool, dry place away from heat and sun.
Benefits
- Beeswax: Seals in moisture and protects against dryness.
- Shea/cocoa butter: Deeply nourishes and softens.
- Coffee-infused oil: Cozy aroma; leaves lips feeling pampered.
- Vitamin E: Adds oxidative stability and extra conditioning.
Tips & Variations
- For a firmer balm (pocket-friendly), add ½–1 tsp extra beeswax.
- Prefer glossier? Reduce beeswax slightly or add ½ tsp castor oil.
- Flavor ideas: a drop of vanilla, hazelnut, or peppermint (lip-safe).
- Use within 6 months; label with date and ingredients.
Helpful Tools
- Double boiler (or heat-safe bowl over a saucepan)
- Mini whisk or spoon, pipette/funnel for tidy pouring
- Lip balm tubes or small tins/jars