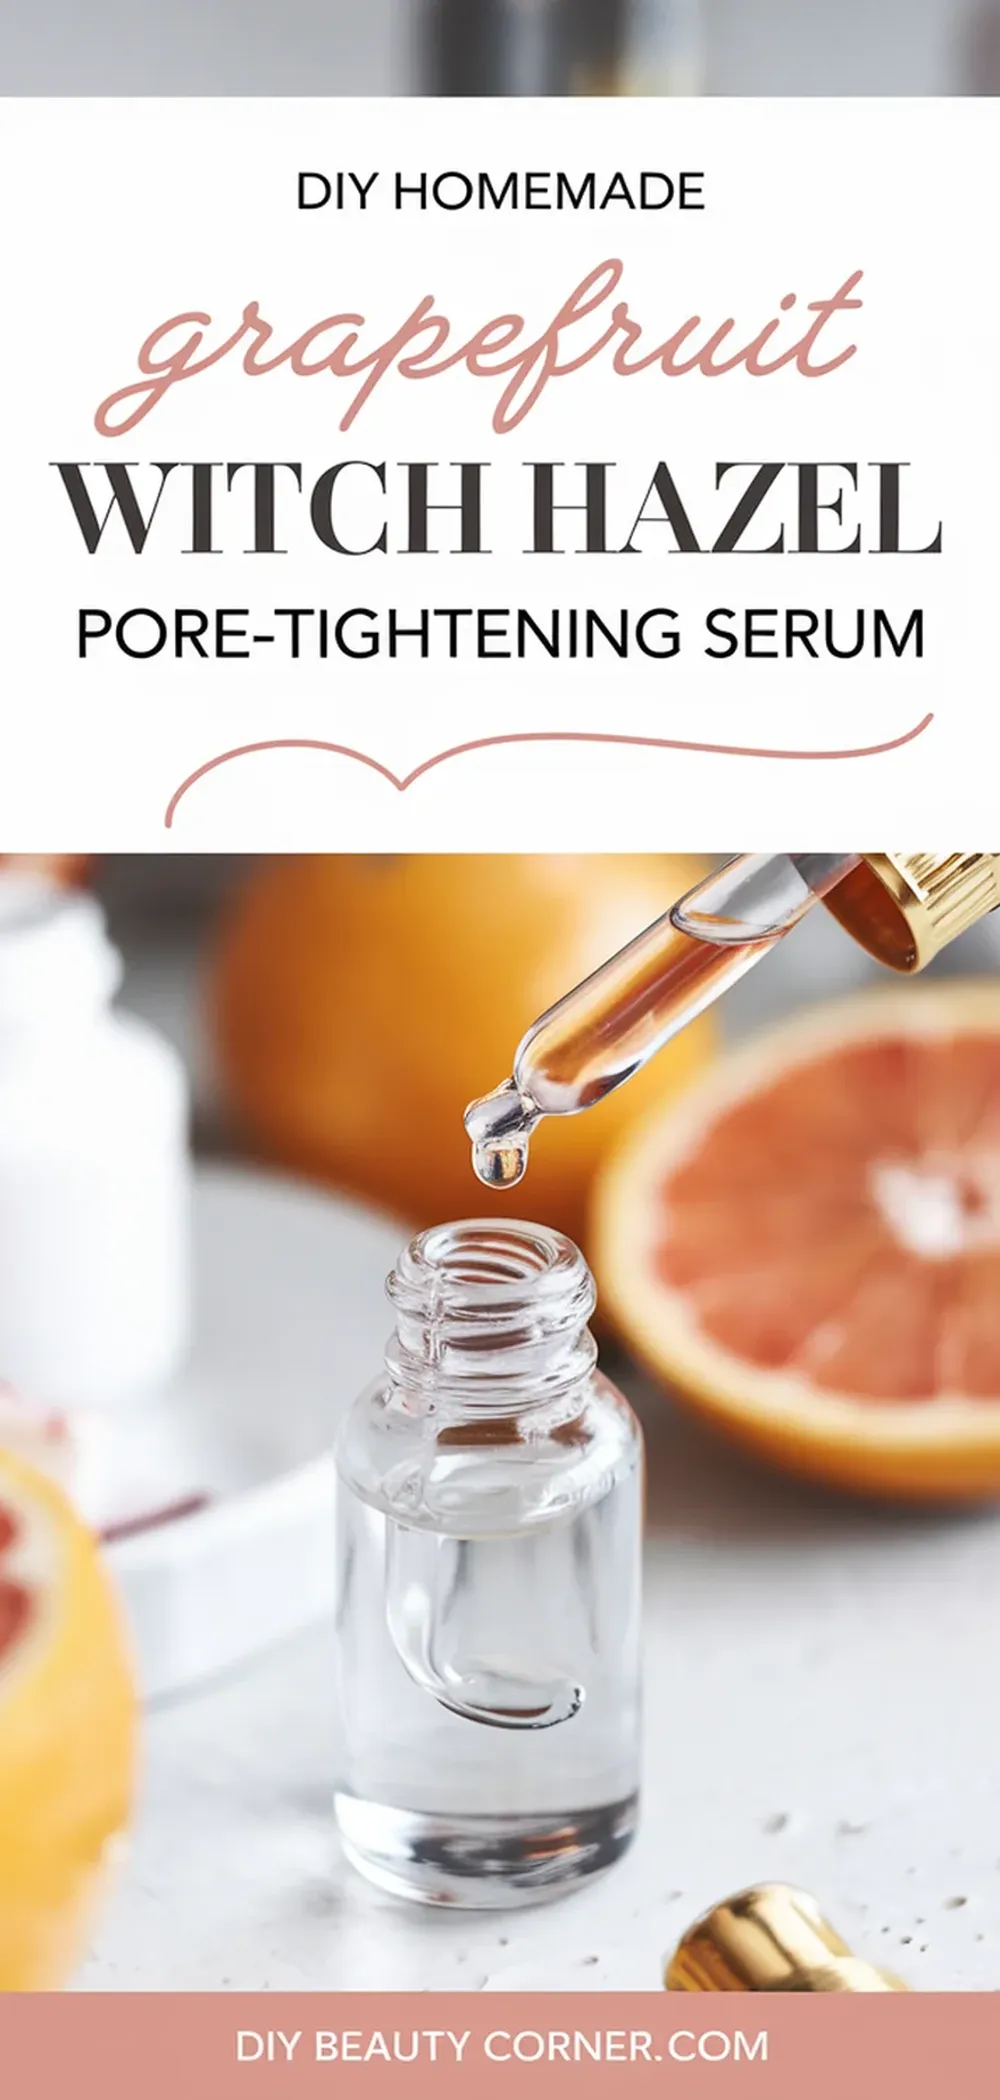
Many people struggle with the appearance of large pores, which can be a source of frustration. DIY homemade serums, particularly those using grapefruit and witch hazel, can effectively reduce the visibility of pores. These natural ingredients not only help tighten the skin but also control excess oil production, making them ideal for anyone looking to enhance their skincare routine.
In this blog post, I’ll share a simple recipe for creating a grapefruit and witch hazel pore-tightening serum. It’s easy to make and requires just a few ingredients that you may already have at home. By incorporating this serum into your daily regimen, you’ll find that managing oily skin and minimizing pores can be more achievable than you think.
Join me as I walk you through the process of making this rejuvenating serum, and discover how straightforward it can be to achieve smoother, more refined skin. Whether you’re a skincare novice or an experienced enthusiast, this DIY solution might just become your new favorite.
Crafting Your Grapefruit and Witch Hazel Serum
Creating a homemade serum using grapefruit and witch hazel offers a natural method for tightening pores and enhancing skin appearance. This blend captures the beneficial properties of both ingredients, leading to a product that is effective yet gentle on the skin.
Benefits of Grapefruit Extract
Grapefruit extract is rich in antioxidants and vitamin C, which are essential for skin health. This component helps reduce excess oil production, making it beneficial for oily skin types.
The astringent properties of grapefruit tighten the skin and minimize the visibility of large pores. In addition, grapefruit extract can promote a brighter complexion and contribute to clearer skin by combating acne-causing bacteria.
To incorporate grapefruit effectively, I recommend using freshly squeezed juice. Avoid sweetened or processed juices. You can mix 1/4 cup of grapefruit juice into your serum for optimal results.
Advantages of Witch Hazel
Witch hazel is a natural astringent known for its skin-soothing properties. It effectively reduces inflammation and redness, making it suitable for those with sensitive or acne-prone skin.
Including 1/4 cup of witch hazel in the serum helps to diminish pore size and improve skin texture. Witch hazel assists in balancing the skin’s oil levels, ensuring it remains hydrated without becoming greasy.
Additionally, witch hazel can enhance circulation, which promotes a healthy glow. Its gentle formula makes it an essential ingredient when crafting my serum for daily use.
Application Techniques for Enhanced Pore Tightening
To maximize the effectiveness of a DIY grapefruit and witch hazel pore-tightening serum, it’s essential to follow specific application techniques. These steps will help your skin absorb the serum better, enhancing its pore-tightening effects.
Preparing Your Skin for Serum
Before applying the serum, I ensure my skin is clean. I start with a gentle cleanser to remove dirt and oil. This step allows the serum’s ingredients to penetrate deeply.
After cleansing, I exfoliate my skin 1-2 times a week. I prefer gentle exfoliants that can remove dead skin cells without irritating my skin. This process also helps prevent clogged pores, giving the serum a clear path for efficacy.
A warm compress can also be beneficial. Applying one for a few minutes opens my pores, allowing the serum to work more effectively once applied.
Optimal Application Method
When it’s time to apply the serum, I use clean hands, ensuring there are no contaminants. I dispense a small amount of the serum into my palm, and then gently massage it into my skin using upward motions.
Focusing on areas with larger pores, I concentrate on the T-zone, where pores tend to be more visible. I also use gentle tapping motions with my fingertips to encourage absorption.
I allow the serum to sit on my skin for a few minutes before applying any additional products. This waiting period helps the active ingredients work effectively without interference from other products.
Post-Application Care
After the serum has been absorbed, I follow up with a lightweight moisturizer. This step hydrates my skin without clogging pores, which is crucial after using a serum.
Sunscreen is essential during the day, especially if I used any exfoliants before applying the serum. I choose a broad-spectrum sunscreen with at least SPF 30.
Lastly, I monitor my skin regularly. If I notice any irritation or unusual dryness, I adjust my application frequency or consider making adjustments to my routine. Consistency is key, but so is listening to my skin’s needs.


