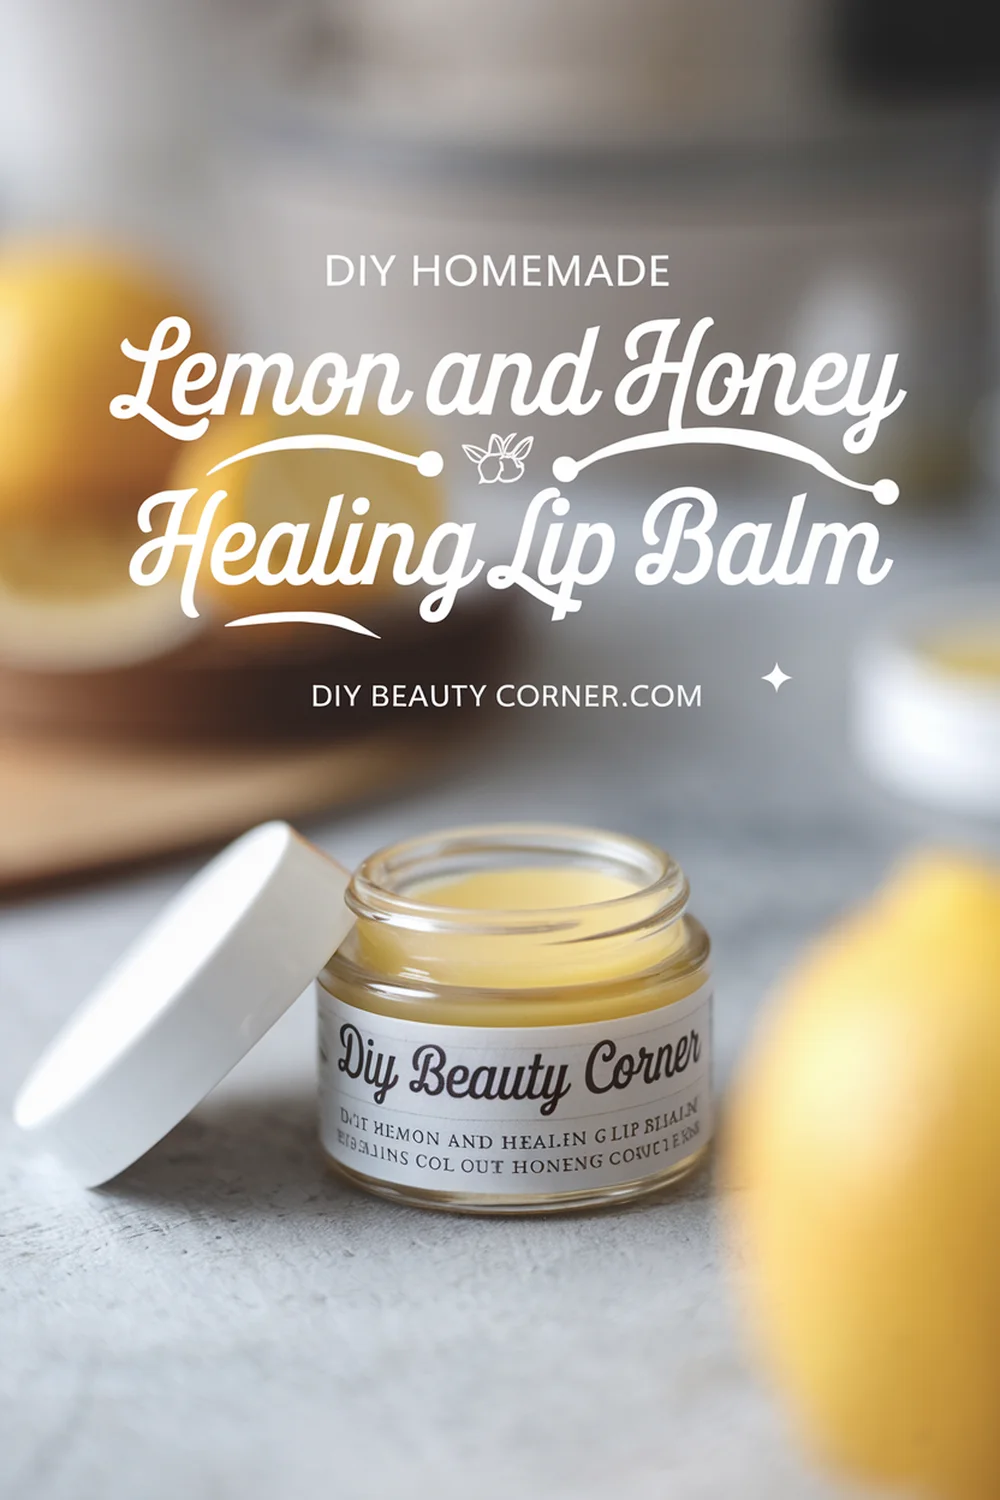
Crafting my own homemade lip balm has become a delightful and rewarding experience. With the perfect combination of lemon and honey, I found a way to blend nourishment with healing properties. This DIY homemade lemon and honey healing lip balm not only moisturizes my lips but also provides natural relief from irritation and dryness.
Using simple, natural ingredients allows me to avoid harsh chemicals often found in store-bought products. The blend of honey acts as a natural antibacterial agent, while lemon brings a refreshing scent and promotes healing. In my recipe, I include coconut oil, beeswax, and shea butter, ensuring that my balm is nourishing and effective.
By making this lip balm at home, I can customize the recipe to suit my preferences and skin needs. Whether it’s for everyday use or as a remedy for cold sores, I enjoy knowing exactly what goes into my skincare products. Let’s dive into the ingredients and steps necessary to create your own healing balm today.
Ingredients and Benefits
Creating my DIY homemade lip balm combines natural ingredients that not only moisturize but also provide healing properties. Here’s a closer look at what goes into this uplifting balm and the benefits each ingredient offers.
Natural Ingredients Overview
The primary ingredients in my homemade lemon and honey healing lip balm are:
- Beeswax: Acts as a natural thickener, helps to seal moisture in the lips. It’s also a great barrier against harsh weather.
- Shea Butter: A rich moisturizer, loaded with vitamins A and E, known for its hydrating properties.
- Coconut Oil: Provides deep nourishment and has antibacterial properties that help care for chapped lips.
- Honey: A natural humectant that draws moisture from the environment.
- Lemon Juice: Adds a refreshing scent and contains antioxidants that benefit the skin.
Each ingredient complements the others, resulting in a soothing lip balm perfect for daily use.
Lemon Essence Benefits
Lemon juice is not just a flavorful addition; it has unique benefits for my lip balm. Rich in vitamin C, it fosters skin health and helps to brighten dull lips. The citric acid within lemon juice promotes exfoliation, aiding in removing dead skin cells from the lips.
This natural ingredient also offers antimicrobial properties that can help reduce the risks associated with infections. Additionally, it lends a refreshing scent, making the balm enjoyable to use. For those interested in enhancing the experience, a few drops of lemon essential oil can amplify these benefits.
Honey Healing Properties
Honey serves as a key ingredient, prized for its healing properties. It is a natural humectant, meaning it draws moisture to the lips, helping prevent dryness. Honey also has antimicrobial qualities, which promote healing and protect against potential infections.
The vitamins and minerals present in honey nourish and soothe the skin, making it ideal for treating chapped or irritated lips. I often recommend using raw honey for the maximum health benefits. Including honey in my lip balm ensures that my lips remain soft, supple, and healthy.
Step-by-Step Creation Process
Creating a DIY homemade lemon and honey healing lip balm requires careful preparation and attention to detail. Below, I outline the essential steps involved in crafting this nourishing balm, ensuring a smooth and successful experience.
Preparing Your Workspace
To get started, I like to set up my workspace for efficiency and cleanliness. First, gather all necessary materials and ingredients: beeswax, shea butter, coconut oil, raw honey, and lemon juice. Having everything within reach makes the process smoother.
Next, I recommend using a double boiler or a heat-safe bowl to melt the ingredients. Placing a clean towel or paper beneath my workspace can prevent any spills. I ensure that my utensils and containers are sanitized to maintain the integrity of the balm. A small jar or lip balm containers for storage is also essential at this stage.
Mixing the Ingredients
Once my workspace is prepared, it’s time to mix the ingredients. I start by measuring out the following:
- 1 tablespoon beeswax
- 1 tablespoon shea butter
- 1 tablespoon coconut oil
- 1 teaspoon raw honey
- 1 teaspoon lemon juice
Next, I combine these in my heat-safe bowl. Placing this bowl over a saucepan filled with water, I apply medium heat. Stirring occasionally, I watch until the beeswax completely melts, creating a smooth mixture.
Once melted, I remove the bowl from heat and add lemon juice and honey. These ingredients provide hydration and flavor. I mix thoroughly to ensure an even consistency and then quickly transfer the mixture into my storage containers.
Storing the Lip Balm
To preserve my homemade lip balm, I allow it to cool completely in the containers. This step is crucial as it ensures the balm solidifies nicely. I typically leave it at room temperature for about 30 minutes.
Once solidified, I cap the containers tightly. I label each with the creation date for reference. Properly stored, this lip balm can last for several months. I prefer to keep it in a cool, dry place to maintain its quality and effectiveness. Enjoying the soothing benefits of this balm is now just a swipe away!


