Close Menu
Creative DIY Beauty Ideas & Tools for Home Projects
    Pinterest
    • About Us
    • Contact Us
    • Disclaimer
    • Privacy Policy
    • Terms
    Creative DIY Beauty Ideas & Tools for Home Projects
    • Home
    • DIY BEAUTY
    • BODY SCRUB IDEAS
    • BODY BUTTER IDEAS
    • LIP BALM IDEAS
    • PERFUME IDEAS
    Creative DIY Beauty Ideas & Tools for Home Projects
    Home»DIY Lip Balm Ideas»How to Make a Tea Tree Oil and Peppermint Lip Balm at Home: A Simple Step by Step Guide
    DIY Lip Balm Ideas

    How to Make a Tea Tree Oil and Peppermint Lip Balm at Home: A Simple Step by Step Guide

    HersheyBy HersheyMay 10, 2022No Comments5 Mins Read
    Facebook Twitter Pinterest LinkedIn Tumblr Email
    Share
    Facebook Twitter LinkedIn Pinterest Email
    How to Make a Tea Tree Oil and Peppermint Lip Balm at Home: A Simple Step by Step Guide

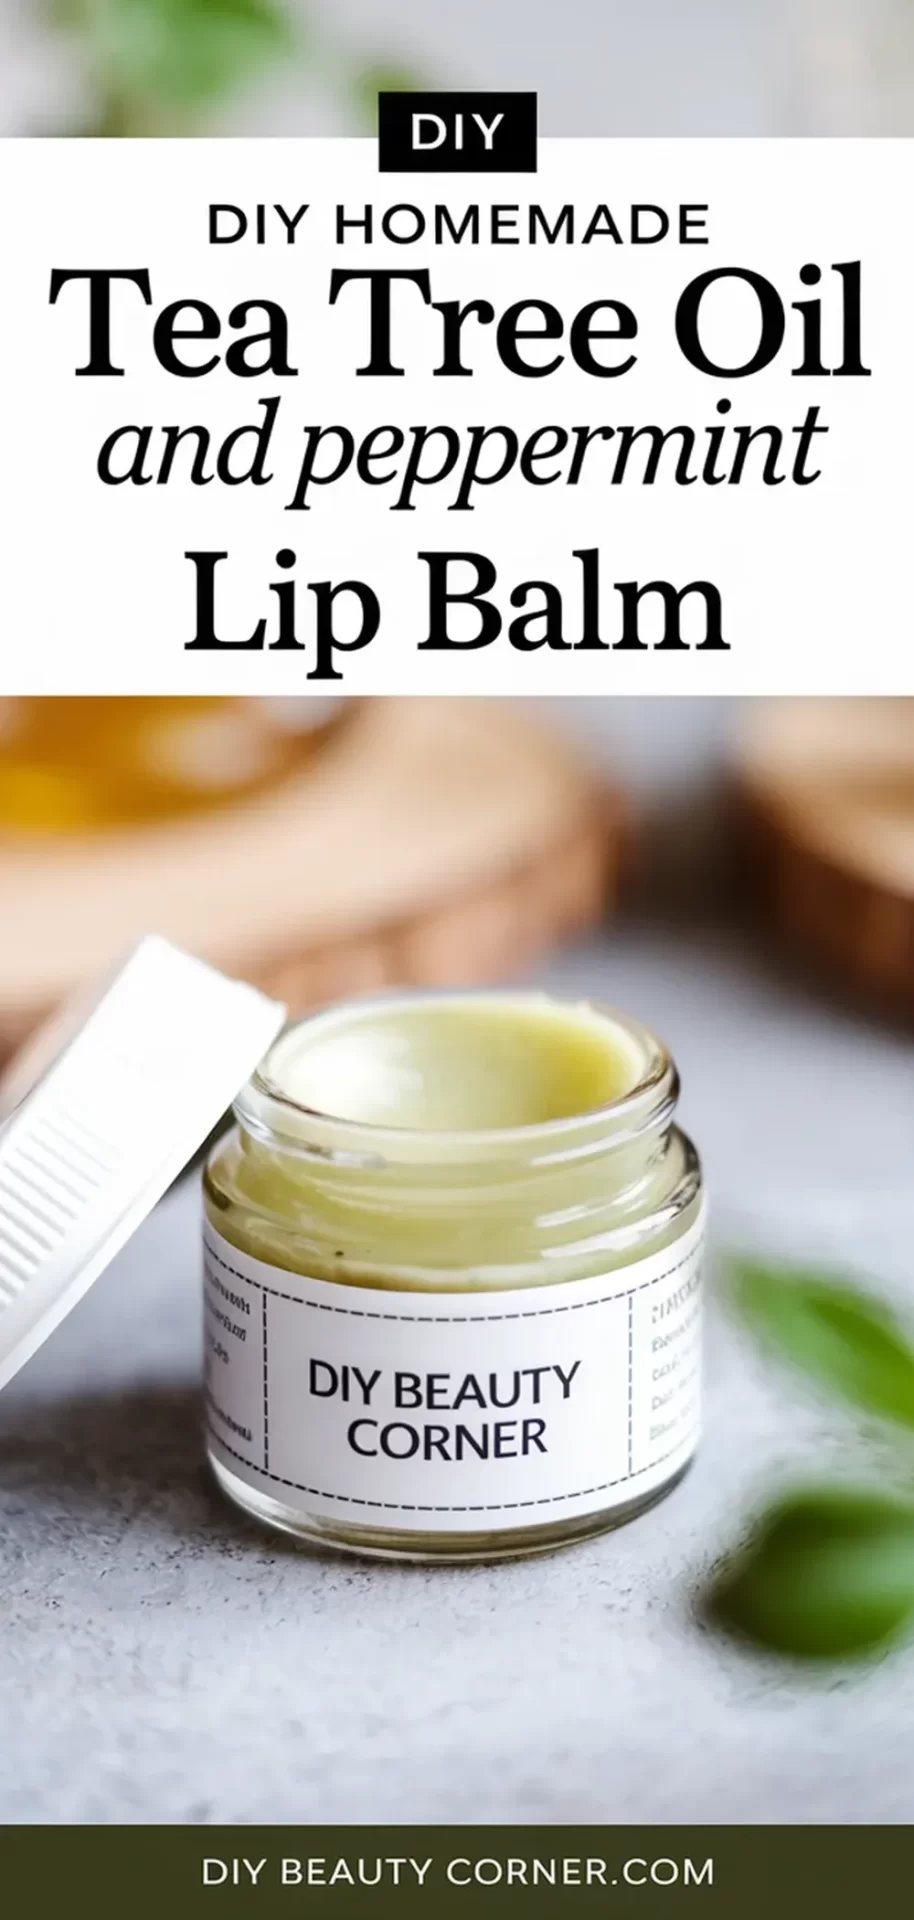
    Making a tea tree oil and peppermint lip balm at home is a simple process that not only provides natural nourishment for your lips but also combines the healing properties of tea tree oil with the refreshing scent of peppermint. This homemade balm can effectively relieve chapped lips and offer a soothing remedy for cold sores.

    I am excited to share my favorite recipe that uses easy-to-find ingredients. With just a few steps, you can create a moisturizing lip balm that is both effective and enjoyable to use. The combination of beeswax, shea butter, and essential oils results in a smooth texture that glides on effortlessly.

    Join me as I walk through the necessary ingredients and the straightforward method to whip up your own batch of this beneficial lip balm. Whether you’re looking to pamper your lips or create a thoughtful gift, this recipe is perfect for anyone interested in natural skincare.

    Materials and Ingredients

    In creating a tea tree oil and peppermint lip balm, selecting the right ingredients is crucial. The materials used will contribute to the texture, effectiveness, and aroma of the final product.

    Essential Oils Selection

    For this recipe, I utilize tea tree oil and peppermint oil. Tea tree oil is well-known for its healing properties, making it ideal for alleviating chapped lips and preventing infections. I typically opt for 100% pure tea tree oil, which means it hasn’t been diluted with other ingredients.

    Peppermint oil, on the other hand, not only imparts a refreshing scent but also provides a gentle cooling sensation, enhancing the user experience. Using high-quality essential oils is vital. I avoid blends that may contain synthetic ingredients. Each of these oils should be added in moderation—usually, about 10-15 drops of each is sufficient for a standard batch.

    Carrier Oils and Beeswax

    The base of the balm includes beeswax, shea butter, and coconut oil. Beeswax acts as a natural emulsifier, providing a smooth texture and helping the balm to retain moisture. I prefer using filtered beeswax for a cleaner finish.

    Shea butter is rich in vitamins and fatty acids, offering deep moisture and protection. I usually incorporate about 1 tablespoon of shea butter. Coconut oil adds an additional layer of hydration and has antimicrobial properties. A typical recipe might call for 2 tablespoons of coconut oil. This combination ensures the balm is both nourishing and effective.

    Tools and Equipment

    Gathering the right tools is just as important as the ingredients. I use a double boiler for melting the ingredients together gently, which prevents burning. Alternatively, a microwave-safe container can be effective, but I prefer the double boiler for better control.

    Next, I need small containers for storing the finished balm; lip balm tubes or small jars work well. A ml scale is useful for measuring precise quantities, especially with beeswax. Additionally, spatulas and whisks help in thoroughly mixing the ingredients. Having these tools on hand streamlines the process, ensuring a successful lip balm creation.

    Step-by-Step Guide

    Creating a tea tree oil and peppermint lip balm is an enjoyable process that combines natural ingredients for effective results. This guide will walk through the essential steps, ensuring a smooth preparation with the right balance of oils.

    Melting and Mixing

    To start, I gather my key ingredients: beeswax, shea butter, and coconut oil. For measurement, I typically use 1 part beeswax, 1 part shea butter, and 1 part coconut oil.

    In a double boiler, I combine the beeswax, shea butter, and coconut oil. The heat should be gentle to prevent overheating. Stir the mixture frequently until everything melts and forms a uniform consistency.

    Once melted, I remove it from heat and allow it to cool slightly before moving on to the next step. This mixture creates the foundation of my lip balm and provides a base that locks in moisture.

    Incorporating Essential Oils

    Next, I focus on adding the essential oils. I choose 5-10 drops of tea tree oil for its antibacterial benefits and 10-15 drops of peppermint oil for flavor and sensation.

    After the base has cooled slightly, I add the oils to the mixture. It’s crucial not to add them while the base is too hot, as excessive heat can diminish the oils’ properties.

    I stir the mixture thoroughly to ensure the essential oils are evenly distributed throughout the balm. This step enhances the fragrance and therapeutic qualities of the lip balm.

    Pouring and Setting the Balm

    Now, I prepare my containers for the lip balm. Small tins or lip balm tubes work best for storage.

    Carefully, I pour the mixture into the containers, filling them to the rim while being cautious not to spill. I find it helpful to work quickly, as the balm begins to set as it cools.

    Once poured, I let the containers sit at room temperature until fully solidified. This process may take a couple of hours. However, for faster setting, I can place them in the refrigerator for about 30 minutes. Once set, my homemade tea tree oil and peppermint lip balm is ready for use!

    49 Best Diy Homemade Skincare Recipes With Tea Tree Oil

    We are on YouTube
    CYCLING INTO SPRING #beauty #cycling #cycle #bike #bikelife #spring #shorts
    CYCLING INTO SPRING #cycling #cycle #bike #bikelife #roadbike #bikeride
    I read that turmeric was great for glowing skin... they forgot to mention the part where you turn into an Oompa Loompa! 🥕😭

Does anyone know how to get turmeric stains off fast?? Please help! 👇

#skincarefail #turmericmask #diybeauty #stainedface #skincareroutine #fail #relatable #shorts
    Turmeric mask disaster left me looking like Homer Simpson #shorts #skincare #relatable
    My latest attempt at DIY skincare went horribly wrong, and now my face feels like it's experiencing a severe burning sensation! 🔥 This viral "do it yourself" hack led to immediate burning skin and regret. Has anyone else had a similar burn experience with beauty life hacks? Let me know! 👇

#skincarefail #diybeauty #skincaretips #relatable #shorts #humor #fail
    Instant Regret: DIY Skincare Gone Wrong 😭#shorts #skincare
    thought making my own skincare would save money, but I think I just burned my face off! 😭 Note to self: Just buy the moisturizer next time.

Has a DIY beauty hack ever backfired on you? Let me know in the comments! 👇

#skincarefail #diybeauty #skincaretips #relatable #shorts #humor #fail
    Pinterest vs. Reality: DIY Face Mask Edition 💀#shorts #skincare #relatable
    🤯WAIT… You Can OPEN These 😳🧽 #lifehack #beautyhacks #shorts #fyp
    Load More... Subscribe

    Related posts:

    1. How to Make Raspberry Lip Balm with Natural Tint: A Simple Guide to Nourishing and Tinted Lips
    2. Easy Step by Step Strawberry and Coconut Oil Lip Balm Recipe for Smooth, Moisturized Lips
    3. Easy to Make Shea Butter and Honey Lip Balm – A Simple DIY Homemade Recipe
    4. Easy DIY Coffee-Infused Lip Balm ☕️ | Soft, Hydrated Lips with a Morning Boost
    Share. Facebook Twitter Pinterest LinkedIn Tumblr Email
    Hershey

    Hershey is the creator of DIY Beauty Corner, a creative lifestyle website focused on simple, at-home DIY beauty ideas and handmade project inspiration. The site was inspired by a long-standing interest in creative, hands-on projects and time spent exploring DIY ideas at home. DIY Beauty Corner shares approachable DIY content designed for inspiration and enjoyment, featuring small-batch project ideas, creative beauty concepts, and tools intended to support relaxed, pressure-free exploration of DIY projects.

    Related Posts

    DIY Lip Balm Containers and Packaging Ideas

    Why DIY Lip Balm Is Popular for Small-Batch Creative Projects

    Try This Homemade Tropical Mango Lip Balm Recipe for Smooth, Hydrated Lips

    Easy DIY Pumpkin Spice Lip Balm Recipe – Cozy Fall Lip Care You’ll Love

    DIY Homemade Lemon and Honey Healing Lip Balm: A Natural Solution for Soft, Hydrated Lips

    Easy DIY Chocolate Mint Lip Balm Recipe for Sweet, Soft Lips

    Comments are closed.

    DIY Beauty Corner is a creative lifestyle blog focused on simple, at-home DIY beauty ideas and handmade projects designed for inspiration and everyday creativity. The site is curated by Hershey and features approachable DIY content using familiar ingredients and tools.

    From small-batch projects and gift ideas to creative DIY beauty inspiration, DIY Beauty Corner is all about exploring handmade ideas in a relaxed, enjoyable way — without unnecessary complexity or pressure. Have a look around and discover creative projects you can explore at your own pace.

    Popular

    • What is DIY Beauty?
    • Planning DIY Beauty Projects
    • DIY Beauty for Beginners
    • DIY Beauty Gift Ideas
    • DIY Beauty Ingredients
    • DIY Body Scrubs
    • Body Butter Inspiration
    • Lip Balm Projects
    DIY Beauty Corner
    Pinterest YouTube
    • About
    • Contact
    • Disclaimer
    • Privacy Policy
    • Terms and Conditions
    © 2026 DIYBeautyCorner.com. All rights reserved. Content is intended for general informational and creative purposes only. Always consult a qualified professional for personal decisions.

    Type above and press Enter to search. Press Esc to cancel.