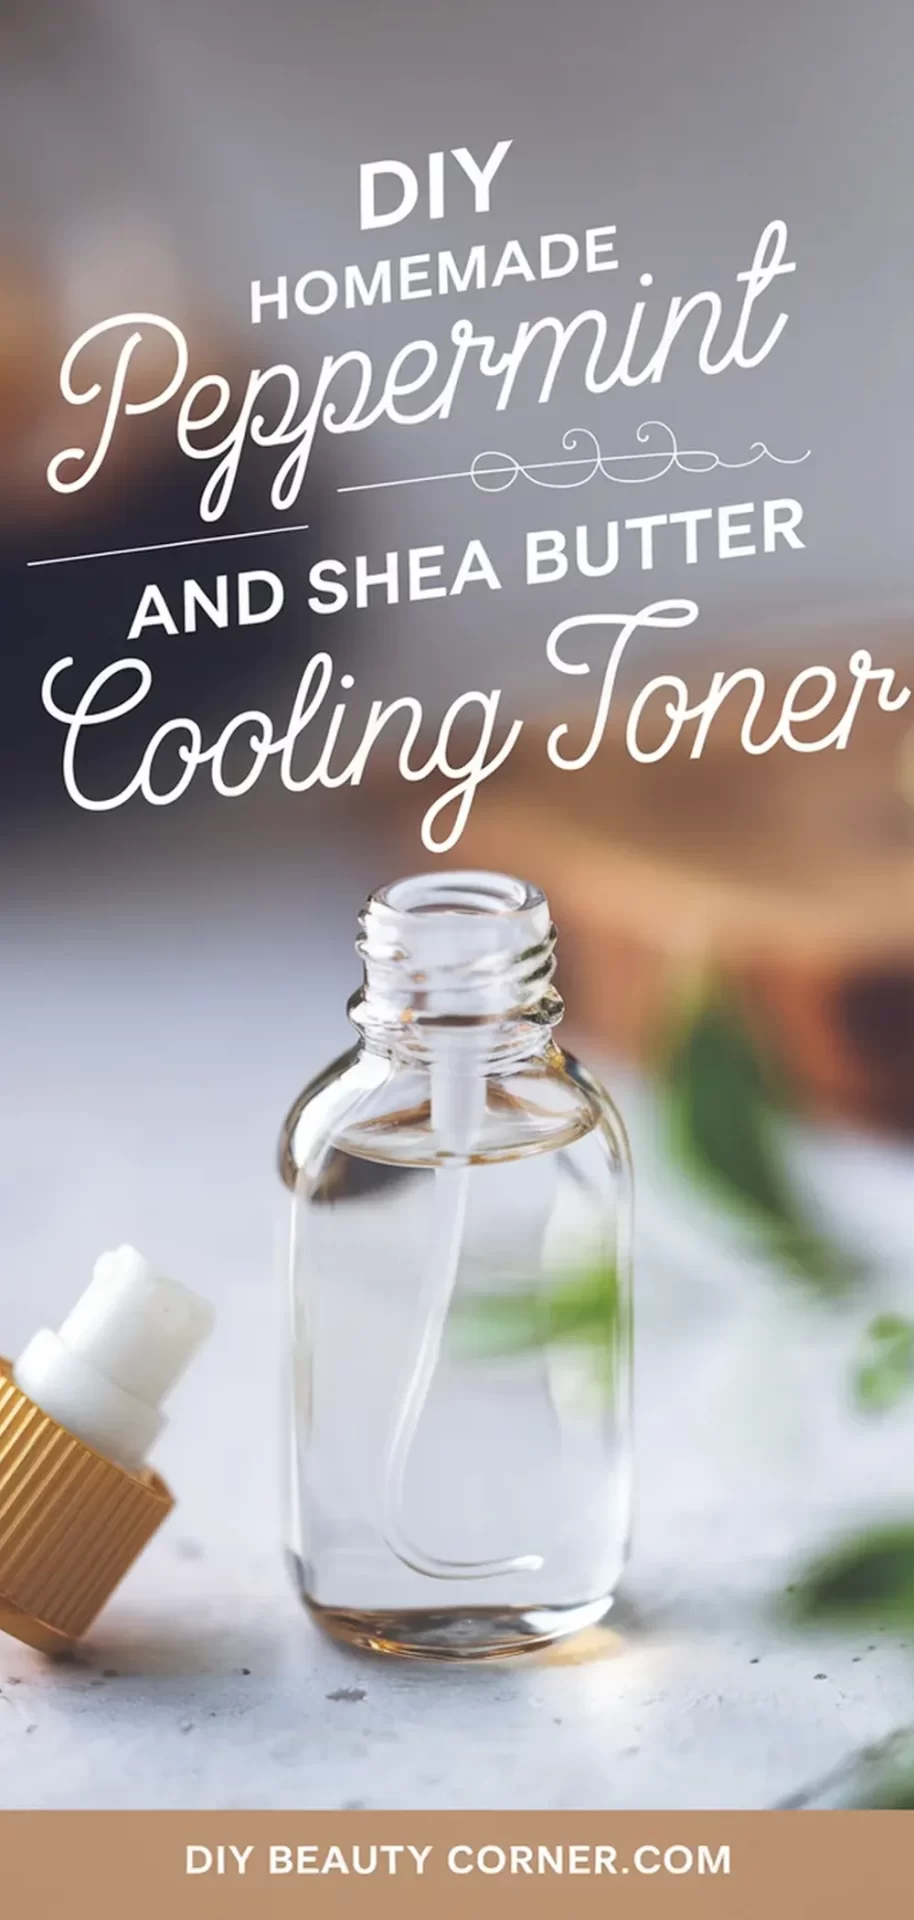
When it comes to skincare, finding the right toner can make a significant difference in maintaining healthy, hydrated skin. I often look for ingredients that provide both nourishment and a refreshing sensation, which is why I love creating my own DIY Peppermint and Shea Butter Cooling Toner. This toner not only soothes dry skin but also delivers essential hydration, making it perfect for anyone seeking a revitalizing skincare routine.
The combination of peppermint and shea butter stands out for its ability to calm irritation and deeply moisturize. With just a few simple ingredients, I can whip up a toner that enhances my daily skincare regimen while providing a delightful cooling effect. In the following sections, I will share my go-to recipe along with all the details you need to create this refreshing toner at home.
Components and Benefits
In formulating my DIY homemade peppermint and shea butter cooling toner, I focus on key ingredients that deliver both refreshing and nourishing benefits to the skin. Each component works synergistically to provide a soothing experience while enhancing skin health.
Peppermint Extract: Invigorating Properties
Peppermint essential oil is a standout ingredient in my toner. Not only does it impart a refreshing scent, but it also offers stimulating properties that invigorate the skin.
When applied, peppermint can provide a cooling sensation, which is particularly welcome during hot days. It promotes better blood circulation, helping to brighten the complexion. Additionally, peppermint has antimicrobial qualities, making it beneficial for acne-prone skin by inhibiting the growth of bacteria.
This natural extract can also help minimize the appearance of enlarged pores, leaving your skin looking smooth and rejuvenated.
Shea Butter: Moisturizing Magic
Shea butter is essential in my toner for its outstanding moisturizing capabilities. Rich in vitamins A and E, it serves to hydrate and nourish the skin deeply.
This creamy butter helps to lock in moisture, providing a barrier that prevents dryness. It is especially beneficial for balancing oily skin types while still delivering hydration.
Additionally, shea butter aids in skin healing and can help alleviate irritation, making it suitable for sensitive skin. Its anti-inflammatory properties soothe redness, providing an overall calming effect on the skin, which complements the invigorating nature of peppermint.
Complementary Ingredients
The other components in my toner enhance its overall effectiveness. Distilled water acts as a hydrating base, facilitating the absorption of the active ingredients into the skin.
Witch hazel is included for its astringent properties, which tighten pores and reduce excess oil. This can lead to a clearer skin appearance while addressing acne concerns.
Lastly, aloe vera gel provides a soothing layer of hydration. Known for its healing benefits, aloe vera can calm inflammation and enhance softness, making it a perfect companion to the invigorating and moisturizing properties of peppermint and shea butter.
Step-by-Step Crafting
Creating a DIY homemade peppermint and shea butter cooling toner involves several straightforward steps. By gathering the right supplies, mixing the ingredients precisely, and properly storing the final product, I can achieve a refreshing toner perfect for revitalizing my skin.
Gathering Supplies
To start, I need to collect the essential ingredients and tools required for making the toner. Here’s what I need:
-
Ingredients:
- 1/2 cup of distilled water
- 1/4 cup of witch hazel
- 1/4 cup of aloe vera gel
- 1 tablespoon of shea butter
- 10 drops of peppermint essential oil
-
Tools:
- Mixing bowl
- Small whisk or spoon
- Measuring cups
- Airtight container for storage
Having everything organized makes the mixing process efficient. Ensuring that my workspace is clean will help maintain a hygienic environment for the toner.
The Mixing Process
Once I have my supplies ready, it’s time to begin mixing. First, I take a mixing bowl and add the distilled water, followed by witch hazel and aloe vera gel. These components provide a refreshing base that hydrates and soothes my skin.
Next, I gently melt the shea butter. To do this, I can use a double boiler method or microwave it in short bursts, stirring until melted. After it cools slightly, I incorporate it into the mixture.
Finally, I add the peppermint essential oil. This not only introduces a cooling effect but also gives the toner a pleasant scent. I carefully whisk all the ingredients until well combined, ensuring a smooth and consistent texture.
Storage and Usage Tips
After mixing, it’s crucial to store the toner properly. I pour the finished product into an airtight container to maintain its freshness. A dark or opaque bottle can help protect the toner from light exposure, which can degrade some ingredients.
For use, I prefer applying the toner to a cotton pad, gently wiping it across my face. This toner can be stored in the refrigerator for an invigorating cooling effect when applied. To achieve the best results, I aim to use it within a month to ensure the ingredients remain effective and fresh.
